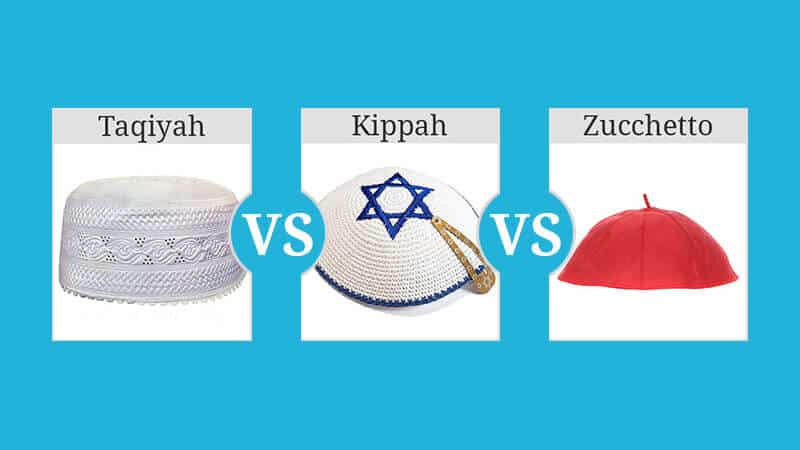
Taqiyah vs Kippah vs Zucchetto, it's not so much a debate as an interesting comparison.…
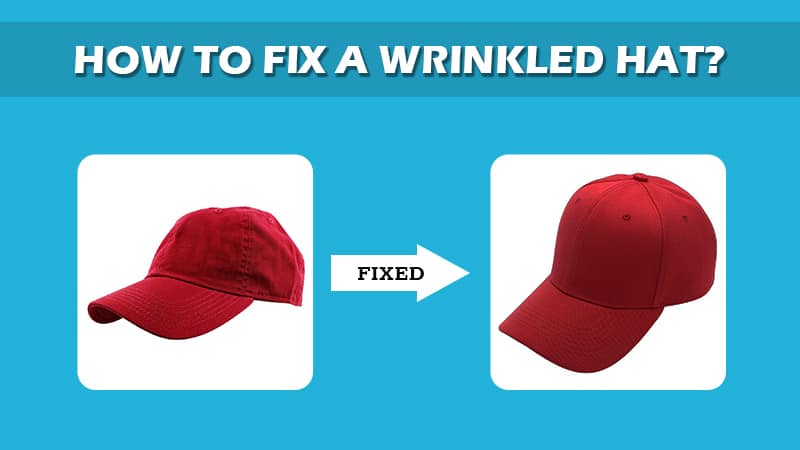
How to Fix Wrinkled Hat – The Right Way
Is your favorite cap wrinkled and squashed out of shape? We know, washing a hat is a tricky process. Whether you’ve thrown it in your washing machine, dishwasher, or forgotten it for a while and found it crushed in your suitcase, we have a solution on how to fix a hat that is wrinkled and bring it back to its original shape.
So, you can stop regretting whatever happened to wrinkle you hat, and start the process of fixing it! We’re here to walk you through the process of what you should know before fixing a wrinkled hat, how to transform your hat into its crisp, structured shape in the easiest ways and how to store it properly so it doesn’t get wrinkled again.
Can You Fix a Hat That Is Wrinkled?
Yes, you can definitely fix a wrinkled hat!
First you’ll want to discover some important stuff about your cap, like the material it’s made up of (in the crown and the visor) and some other factors that you will be reading below.
Removing the wrinkles out of a cap isn’t rocket science, and you don’t need to cough up good money to a professional hat shaper to fix your cap or buy a new one every season. All you have to do is stay gentle throughout the process so that you can save all your caps.
What to Know Before Fixing a Wrinkled Hat?
Stop here! Before we jump straight into the methods, it’s highly crucial to know the below-mentioned stuff before washing the hat without ruining its shape.
1. The Material Of Your Cap
First things first! Check the material of your cap. Hats are made up of a variety of fabrics today, both natural and synthetic.
Natural fibers like cotton, wool, silk, felt, or velvet are more sensitive to water and temperatures, especially hot water, which can make your hat more prone to shrinkage. Hats made up of artificial fabrics like polyester and acrylic can better withstand exposure to high temperatures compared to hats made up of natural fabrics.
2. Don’t Miss to Check The Inner Lining and Sweatband.
Most of your hats will be lined up with an inner lining. If you have a baseball cap, it might be lined with a sweatband. If your inner lining or sweatband is made up of genuine leather, or suede, it’s very important to avoid excessive contact with steam.
If exposing the synthetic leather sweatbands or inner lining to steam, you might have chances to rip them. To prevent deterioration of the inner lining and sweatband, all you have to do is simply use a dry cloth to wipe the moisture when you’re doing a steaming method to remove the wrinkles.
3. Check The Care Label
NEVER IGNORE the care label of your hat! They are sewn into the cap for a reason and give you the right information. In addition to mentioning the material, it also tells you what you shouldn’t do with your cap, for example no machine wash, do not iron, or don’t use hot water.
4. Check the Visor of the Cap
If your hat is odder (made before 1983), check the visor! It might be made up of cardboard and not plastic. As you can imagine, wetting cardboard can damage its shape very easily. Tap the brim of the cap, and if it sounds hollow, it might be made up of cardboard. Use Method 5 if you have a cardboard brimmed hat.
How to Fix a Hat That Is Wrinkled
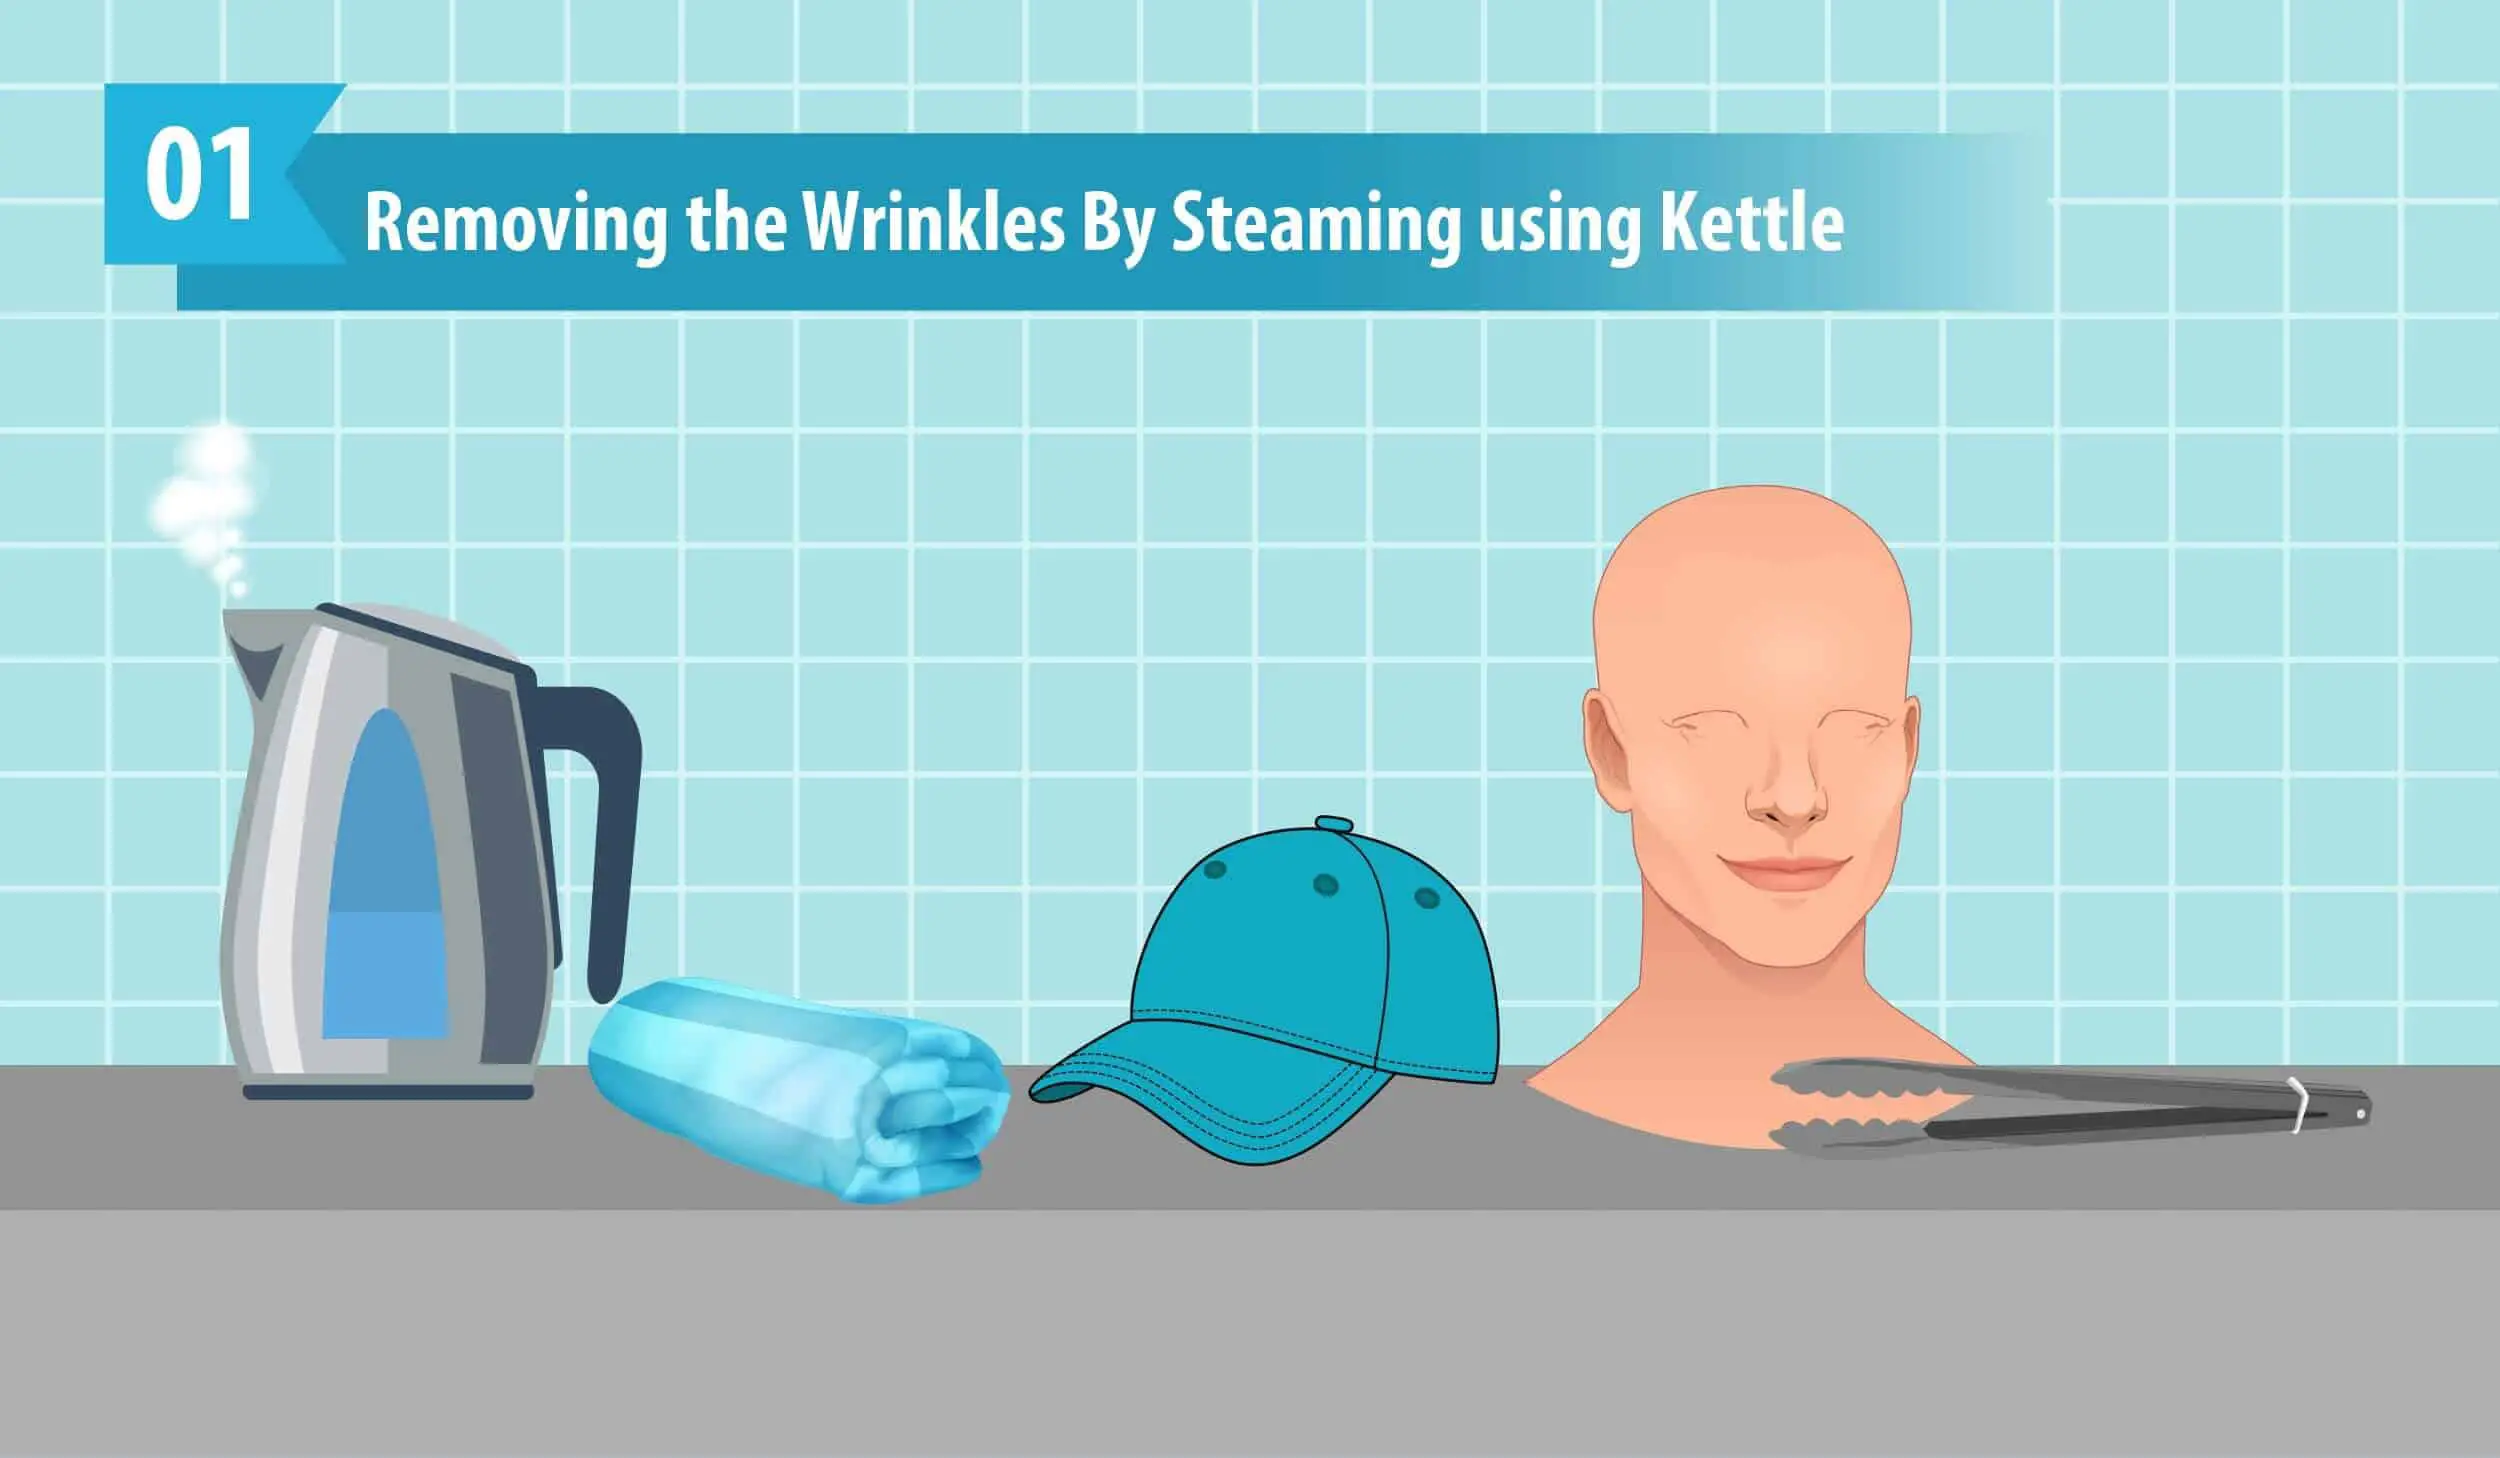
Removing the Wrinkles By Steaming using Kettle
During steaming, the heat and moisture of the steam will work to penetrate the fibers and loosen them up, removing the wrinkles.
This is a very effective method used by professional hat shapers using pricey hat steamers. However, you can do this at home very easily using a tea kettle.
Hats and caps made up of felt, cotton, polyester and acrylic.
Doesn’t Work Well For:
Leather hats, fur hats, velvety hats
Materials Needed:
- Tea kettle
- Dry cloth
- Hat form or baseball washing frames
- Kitchen tongs
Instructions:
Step 1: Boil Water in the Kettle
Fill water in a tea kettle with a large spout. If you don’t have a tea kettle, you can also use a cooking pot.
Step 2: Expose Your Hat to the Steam
***CAUTION*** Skin exposure to steam can result in serious personal injury. Take care avoid personal contact with steam.
When you have enough steam, use your kitchen tongs to hold the hat. Make sure you’re at least five to six inches away. Maintain the kettle at a steady temperature so that it is not too hot! Do not over wet your hat while steaming since it might cause difficulty to reshape.
NOTE: If the sweatband or inner lining is made up of leather and suede, make sure you wipe them frequently to avoid soaking and damage.
Step 3: Let it Dry
After exposing all the areas, gently use your hands to reshape and dry it in your hat form in a dry place WITHOUT DIRECT SUNLIGHT.

Remove Wrinkles Using An Iron
The heat released from ironing helps remove wrinkles on the brim and can straighten ONLY the deformed brim of the hat. But, direct heat has the possibility of damaging your cap depending on the quality and age.
SO MAKE SURE you use a cloth or an old t-shirt to place on the area of the hat you’re ironing. Ensure the cotton cloth doesn’t bleed colors too.
Felt hats, cotton and polyester hats, linen, nylon.
Does Not Work Well for:
Silk, velvet and leather hats, cashmere, real fur and faux fur, wool hats
Materials Needed:
- Iron
- Cloth
- Ironing board
Instructions:
Step 1: Place the Damp Cloth Over the Brim
Gently try to reshape the brim of your hat and cap to its shape by using your hands. Place the hat on the ironing board.
Step 2: Set the Iron to The Medium Setting
If your iron has different temperatures options for different fabrics, make use of it. Otherwise, setting it on a low- medium setting is the safest.
Step 3: Start Ironing The Brim
***CAUTION*** Skin exposure to steam can result in serious personal injury. Take care avoid personal contact with steam.
Gently iron the hat’s brim and be very careful not to rest the iron in the same area of the hat for extended periods of time. Maintain the same gentle pressure from your hand throughout the hat.
Step 4: Let It Rest On a Hatform
To reshape the crown, you can place the crown on a small bowl or a soccer ball which mimics the appearance of your head. You can wear it after it cools.
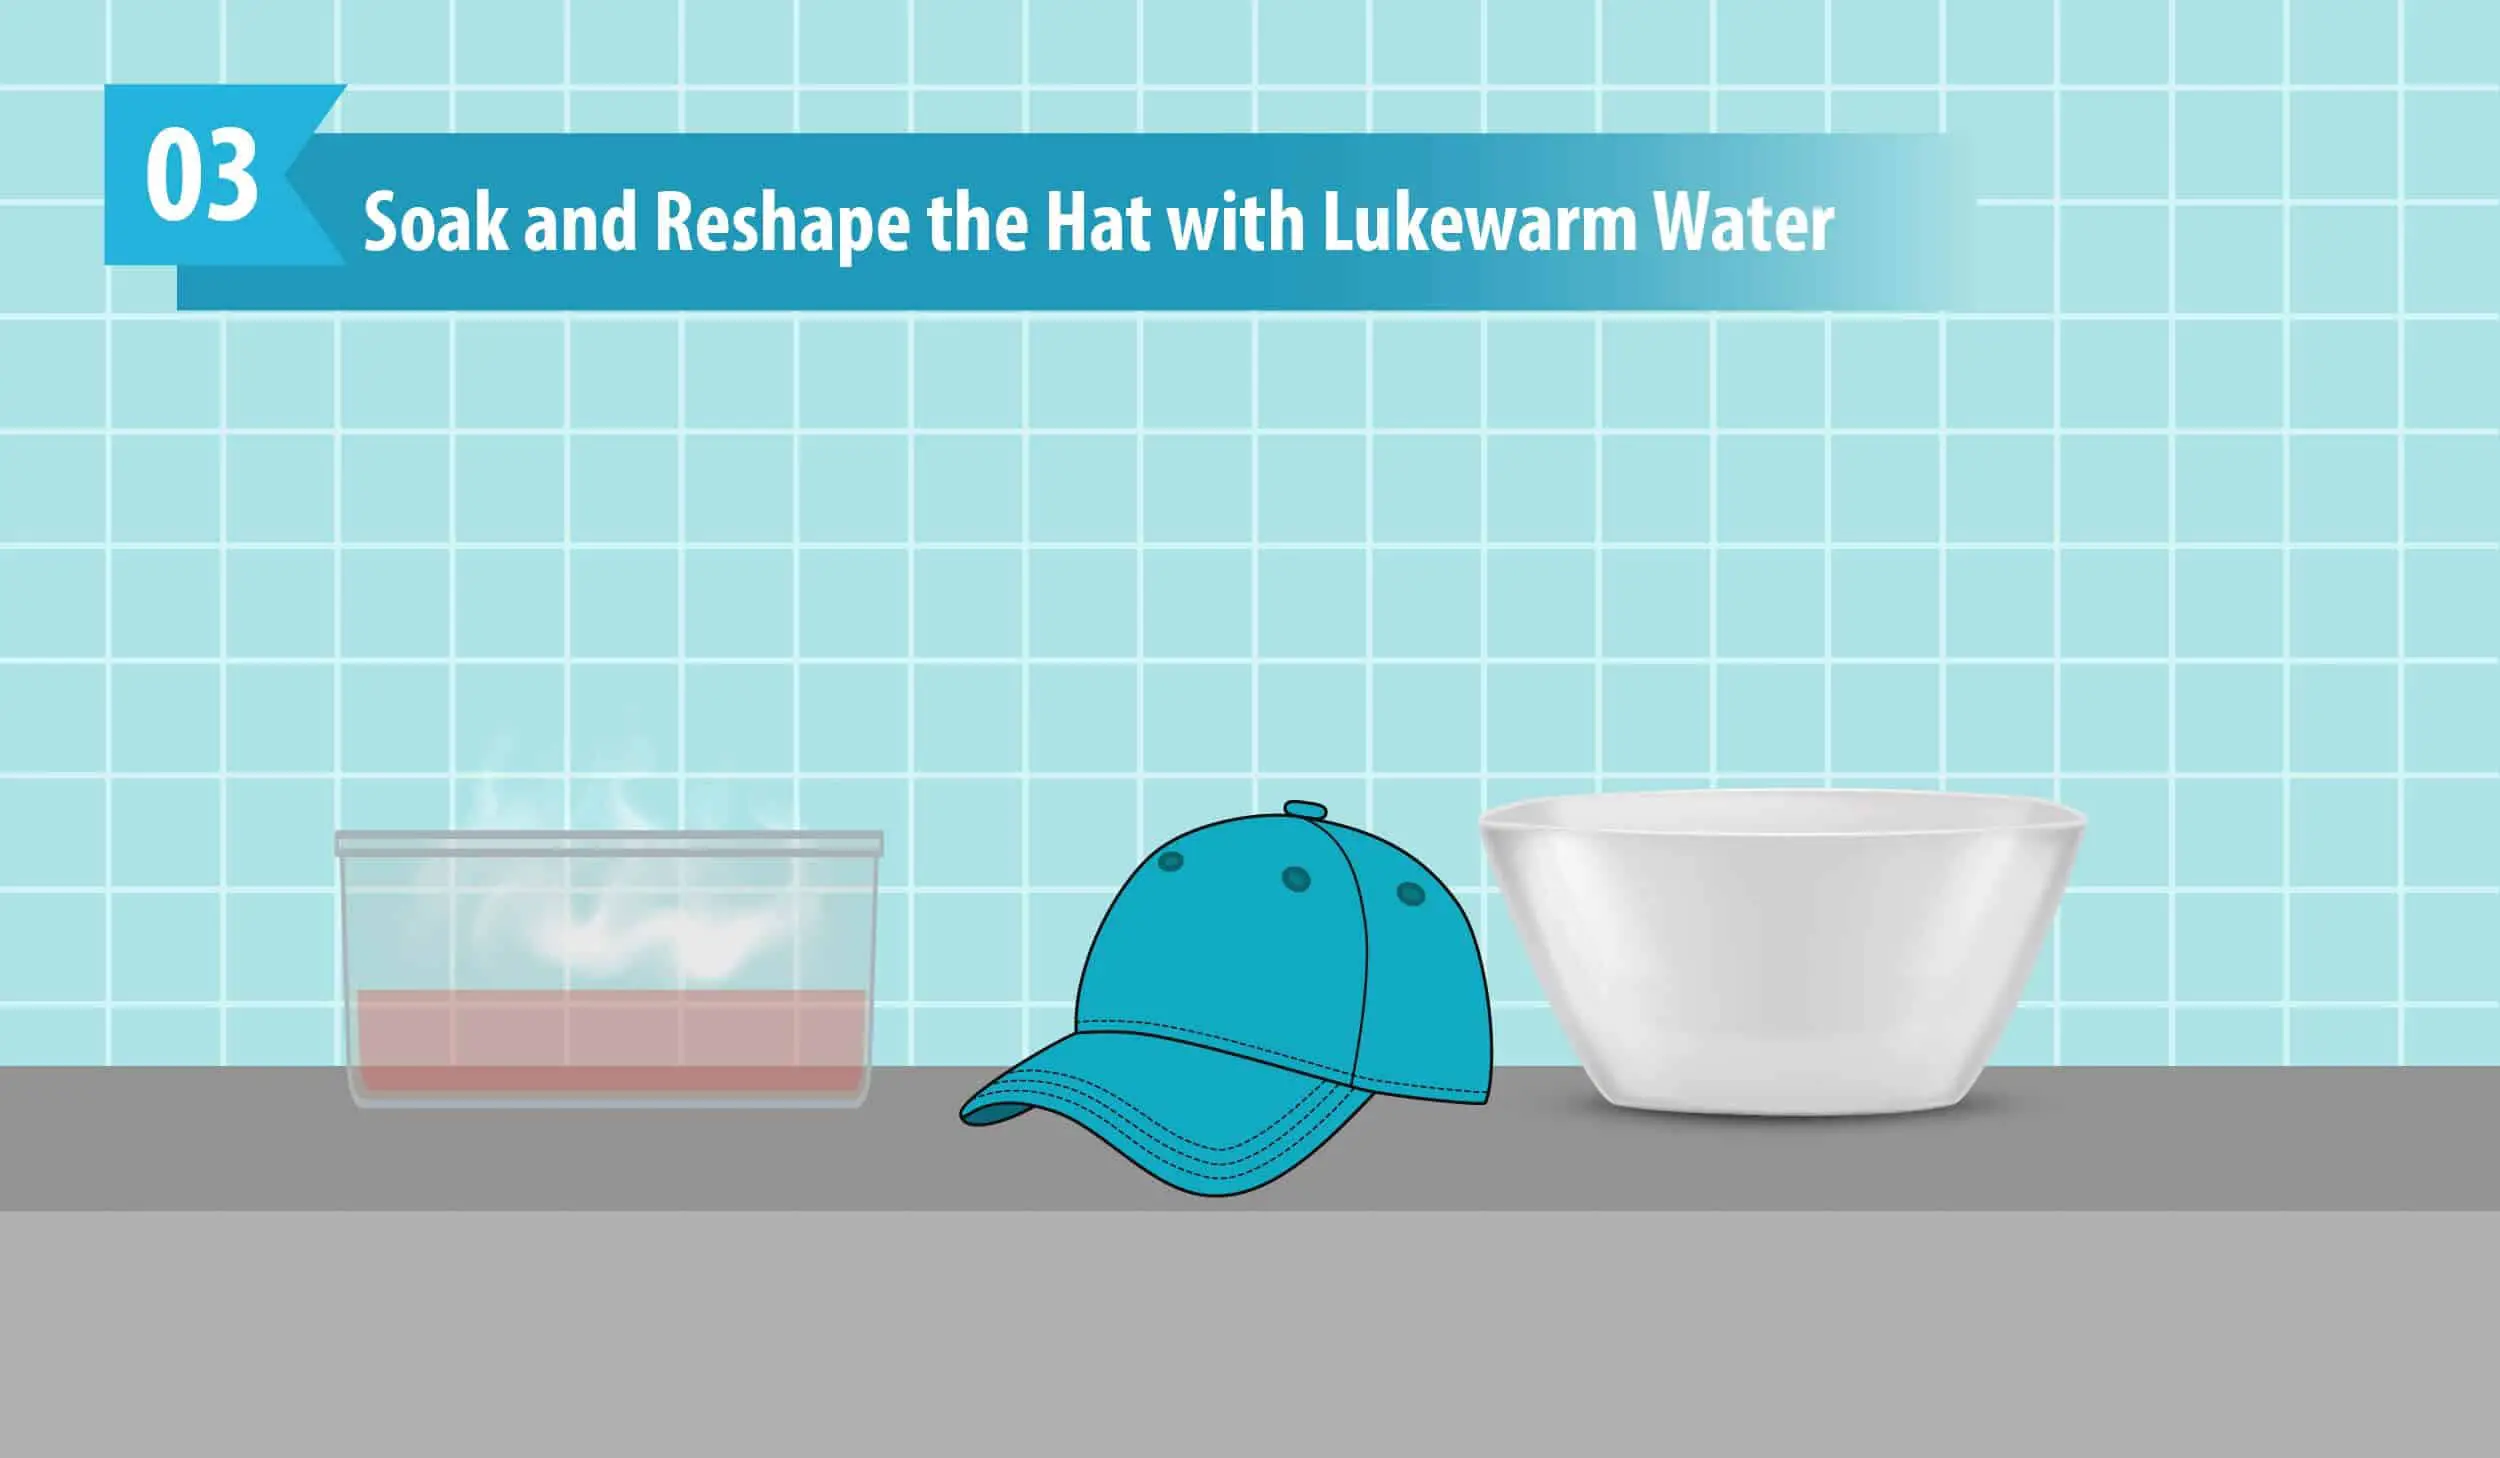
Soak and Reshape the Hat with Lukewarm Water
How Does it Work?
Palm leaf hats do not have more chances to wrinkle but can easily deform. Once they are deformed, they can be very stubborn to get back to their shape. Soaking them in lukewarm water can help to soften their brim and treat their wrinkles and deformed shape.
REMEMBER, use lukewarm water and NOT HOT WATER OR COLD WATER. While hot water can damage the hat, cold water can cause mold. The safest temperature for washing hats is 25°-30°C (75°-85°F).
Palm Straw Hats, polyester, acrylic hats (not for hats and caps with leather and suede sweatbands and inner lining).
Doesn’t Work Well For:
Cotton hats, leather hats, wool hats, fur hats, For caps with leather and suede sweatbands.
Materials Needed:
- Tub or large bowl
- Lukewarm water
Instructions:
Step 1: Fill The Tub With Warm Water.
Firstly, fill the tub with lukewarm water and NOT HOT WATER or COLD WATER. The tub should be large enough to soak your hat fully without any hassle.
Step 2: Soak Your Cap for 20-30 Seconds
Submerge your cap inside the tub for 15-20 seconds. You don’t need to swish it back and forth.
Step 3: Take the Hat Out of the Tub and Dry
After soaking, take out the hat and use your hands to reshape their brims. Stretch them gently to remove the wrinkles and creases. Let it dry.
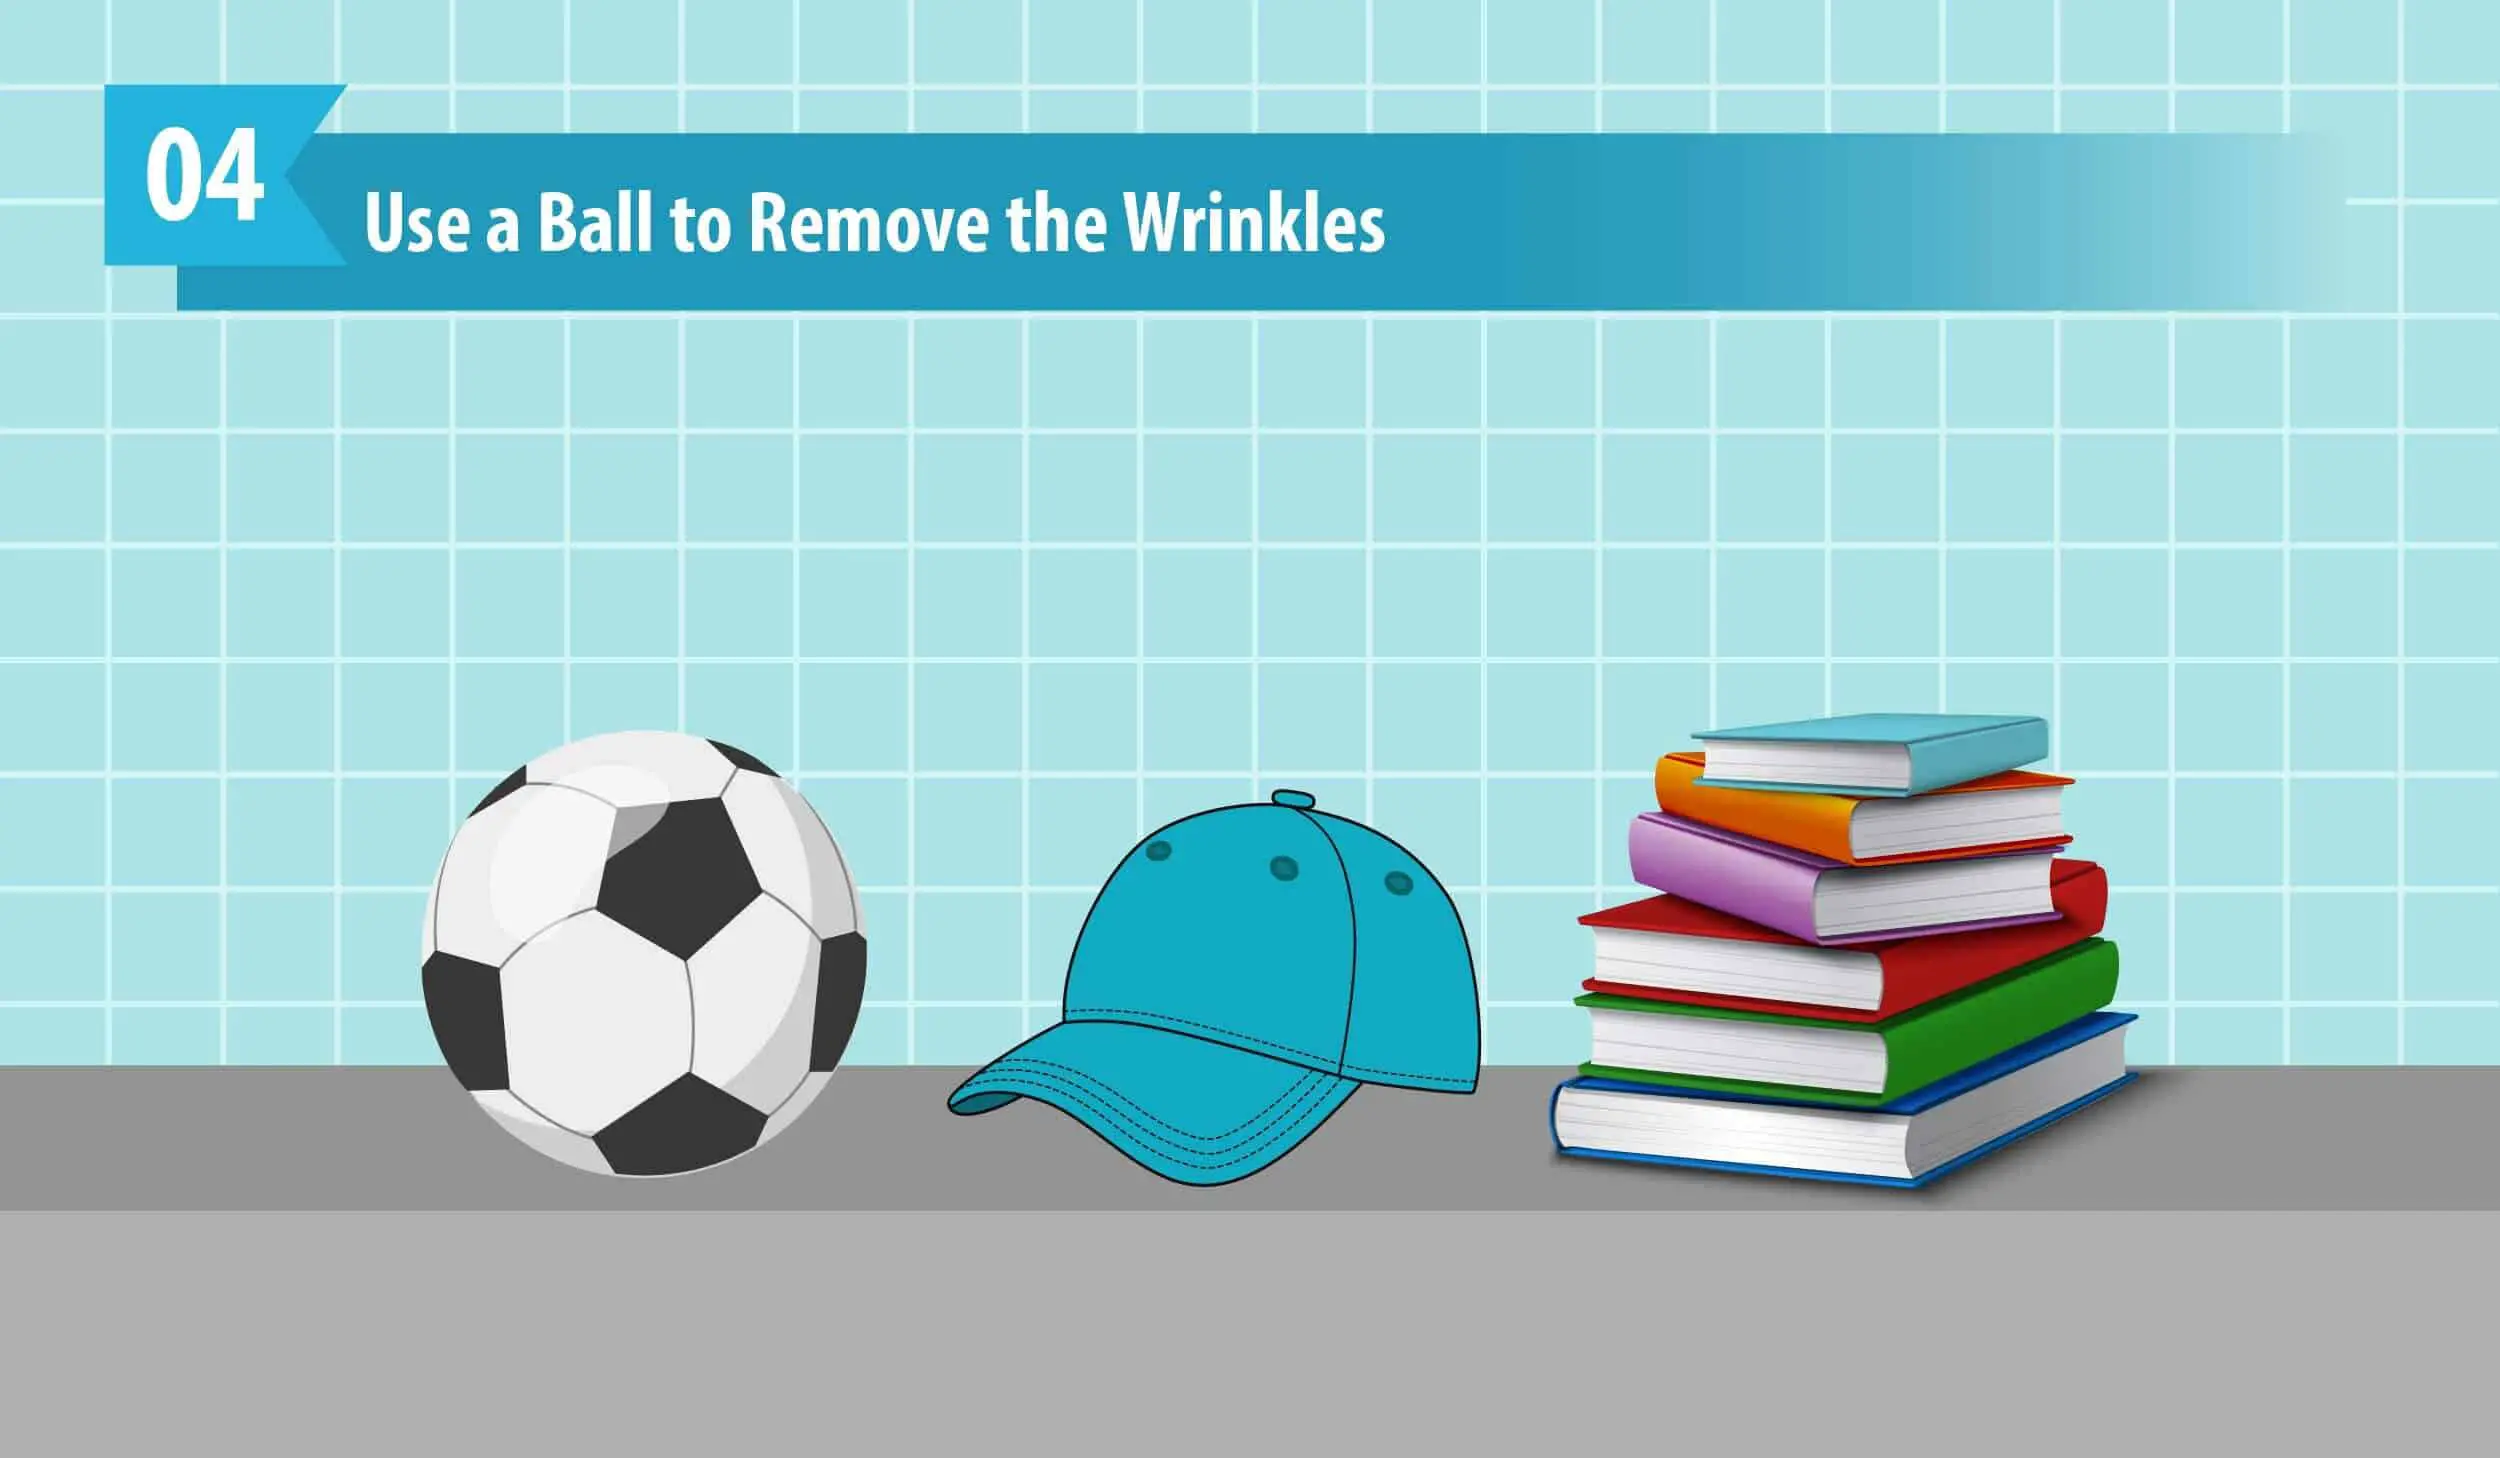
Use a Ball to Remove the Wrinkles
This method is the easiest method without using water. All you have to do is place them on a hat form and let them stay overnight to remove their wrinkles. You can also wait 2-3 days for more effective results.
All types of hats and caps, including hats made up of leather, velvet, fur, cashmere, etc.
Materials Needed:
- Ball or a bowl
- Pile of books or a visor shaper
Instructions:
Method 1: Place the cap on a hat form
All you have to do is, place the cap on the ball or a small bowl. You can also stuff the hat’s crown with a balloon or a paper bag ball of newspapers.
Method 2: Reshape the Brim and Let it Stay
Make sure the brim of the hat rests on the surface. Place some heavy books on the brim to bring them back into shape. If it is a baseball cap, place a brim shaper on the brim. Let it stay overnight. You can also wait for 2-3 days for more effective results.
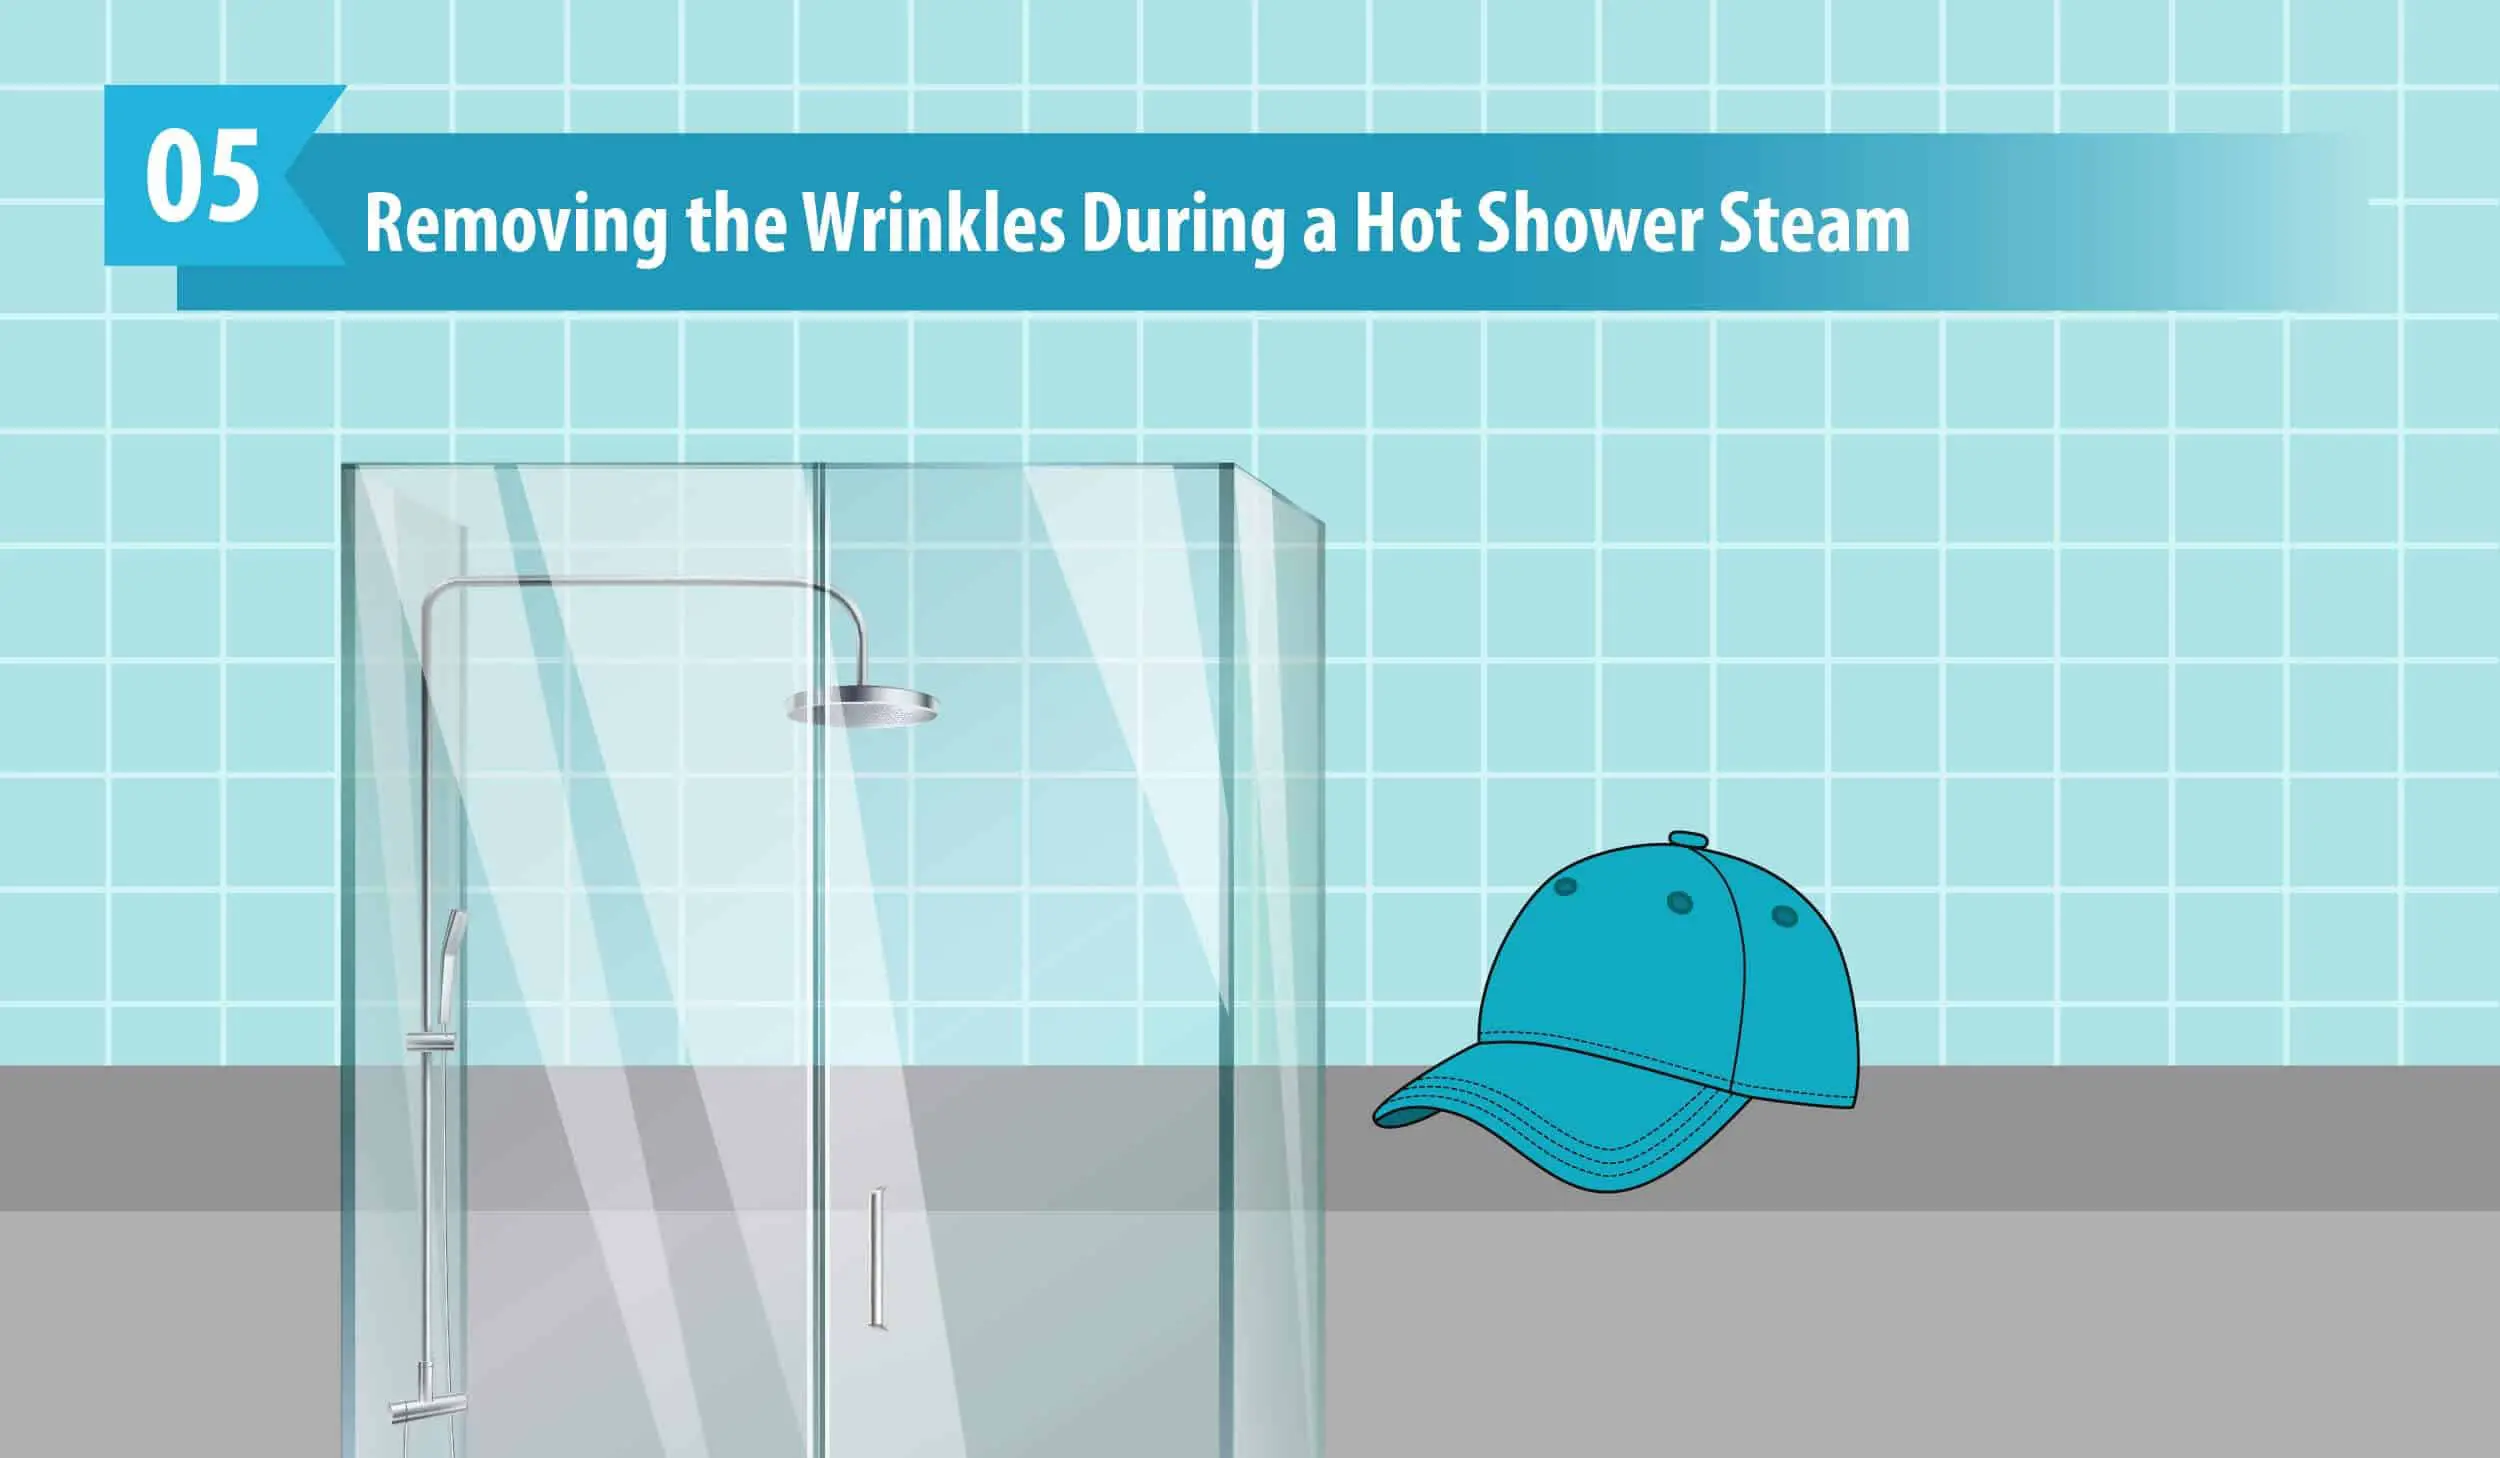
Removing the Wrinkles During a Hot Shower Steam
As mentioned earlier, steaming helps to loosen the fibers and therefore removes wrinkles.
Hats and caps made up of felt, cotton, silk, wool, and polyester, acrylic
Don’t Work Well For:
Materials Needed:
- Hot shower
Instructions:
Step 1: Turn On the Hot Shower
Firstly, please turn on the shower and set it to the hottest setting, and shut the door. Remember, save water! Try to collect the water in a non-plastic tub or have a bath.
Step 2: Hang the Hat On a Hook
Secondly, hang the hat on the hook where it can be best exposed to the steam only. MAKE SURE it is not exposed to hot water. Exposing the hat to hot water can damage its delicate fibers and ruin the shape. Wait for 15-20 minutes.
Step 3: Let it Dry on a Hat form
After waiting for 10-15 minutes, turn off the shower and gently use your hands to reshape the brim and creases of your hat. Let it dry on a hat form without direct sunlight. Repeat the same method until you see effective results.
Could Any of the Methods Cause Damage to the Hat?
Most of these methods are commonly used, best methods to remove the wrinkles of your hat. Make sure you check out which method is suitable for the fabric of your hat. REMEMBER, DO NOT SOAK ANY HAT IN HOT WATER to remove their wrinkles. That might cause more damage.
How to Care and Store for Your Hats?
1. Hat cages
Hat cages are not only for washing. They are excellent options to retain your ball caps’ shape for a long time. They are also lightweight and easy to throw into your bag while you’re traveling.
2. Hat shapers
Using hat shapers also avoids wrinkles in your hat and maintains their crisp and structured shape.
3. Hat boxes and Cedar Drawers
When you’re storing your hats and caps, which are made up of natural fabrics, make sure you keep them in hat boxes without any moisture since fabric-eating bugs love to live on natural fabrics. This can lead to holes and wrinkles. Cedar drawers are also an excellent place to keep them away.
4. Keep Your Hat Clean
Last but not least, wipe your hats with a damp cloth daily after usage and keep them fresh in a dry environment by placing them in a hat form. This prevents wrinkles and inner deterioration, cleans up sweat stains and keeps your hair and slap healthy.

Final Thoughts
In the end we hope you have learned how to fix your wrinkled hat without throwing it away or unnecessarily needing to spend our hard-earned money for buying a new hat, or for professional reshaping.
A hat is not just a hat! It might have been with you in many of your favorite moments, like during your favorite sport, graduation, or your dinner date, and throwing it away will be disheartening. But now, you have can master the art of removing the wrinkles of your hat, it just takes care and patience! Now, take the next step!
You may also like