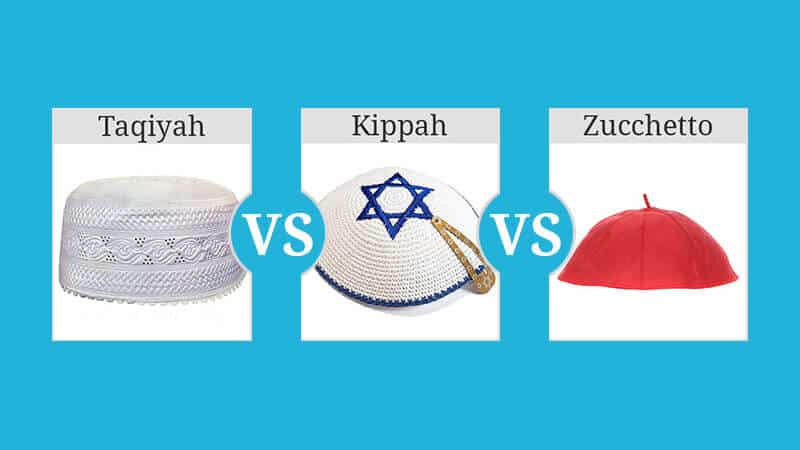
Taqiyah vs Kippah vs Zucchetto, it's not so much a debate as an interesting comparison.…
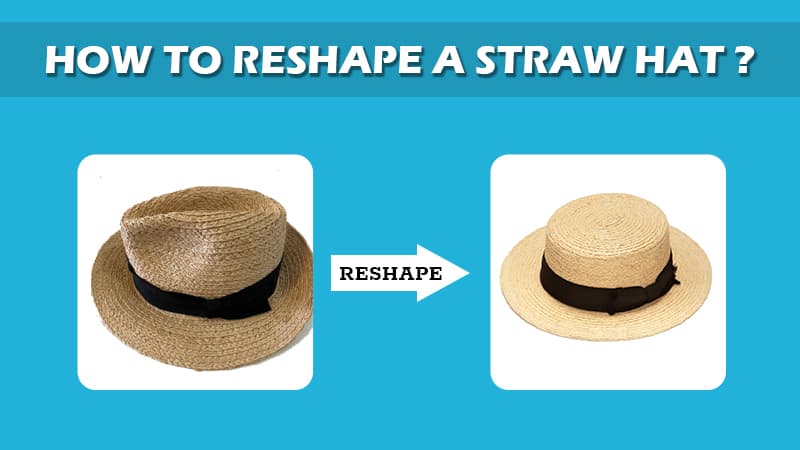
How to Reshape a Straw Hat – All Things You Should Know
Now the dog days of summer are finally here; and it’s time to take out your straw hat from the cupboard! But wait, not again! Do you have a squashed hat in your hand? Life doesn’t go the way you expected, especially at bad times. But if you have searched on how to reshape your straw hat at home, we appreciate you for not spending a few bucks on going to a professional hatter or buying a new hat. Believe it or not, the process of reshaping a straw hat is a piece of cake!
We will leave no stone unturned to get you all the information you need, and bring them back into shape whether your straw hat is squashed, bent, shrunk, or stretched!
How Are Straw Hats Made?
Before jumping into the cleaning process, it’s important to understand the structure and construction of your straw hat.
Straw hats are made from different types of straw from plants or synthetics like PP, mostly wide-brimmed and protect the wearer from the scorching sun. Straw hats are mostly woven by wheat straw, toquilla, braided hemp, raffia, and Toyo straw.
Toyo( paper straw) is also a popular choice, which is not straw but a shellacked rice paper woven into a hat. The tighter the weave, the more worth wearing it to protect from the sun.
What Are the Different Types of Straw Hats?
There are several straw hats, such as boater hats, buntal hats, conical hats, Panama hats, and salakot. They are also made up of artificial synthetic straws such as polypropylene, acrylic, and polyester, etc.
Can Straw Hats be Reshaped?
Yes, since all of the straw hats are made by the process of softening the straws by steaming, submerging into hot water, and woven by hand, they can be reshaped by the same method too! The most common, easiest, and appropriate method to bring your straw hats into shape is the steaming method.
Another fact is straw hats require moisture from time to time since they can dry out very easily. The telltale sign to know that your straw hat is dried is the sudden cracking sound and tight feel when you wear it.
How to Reshape a Straw Hat ?
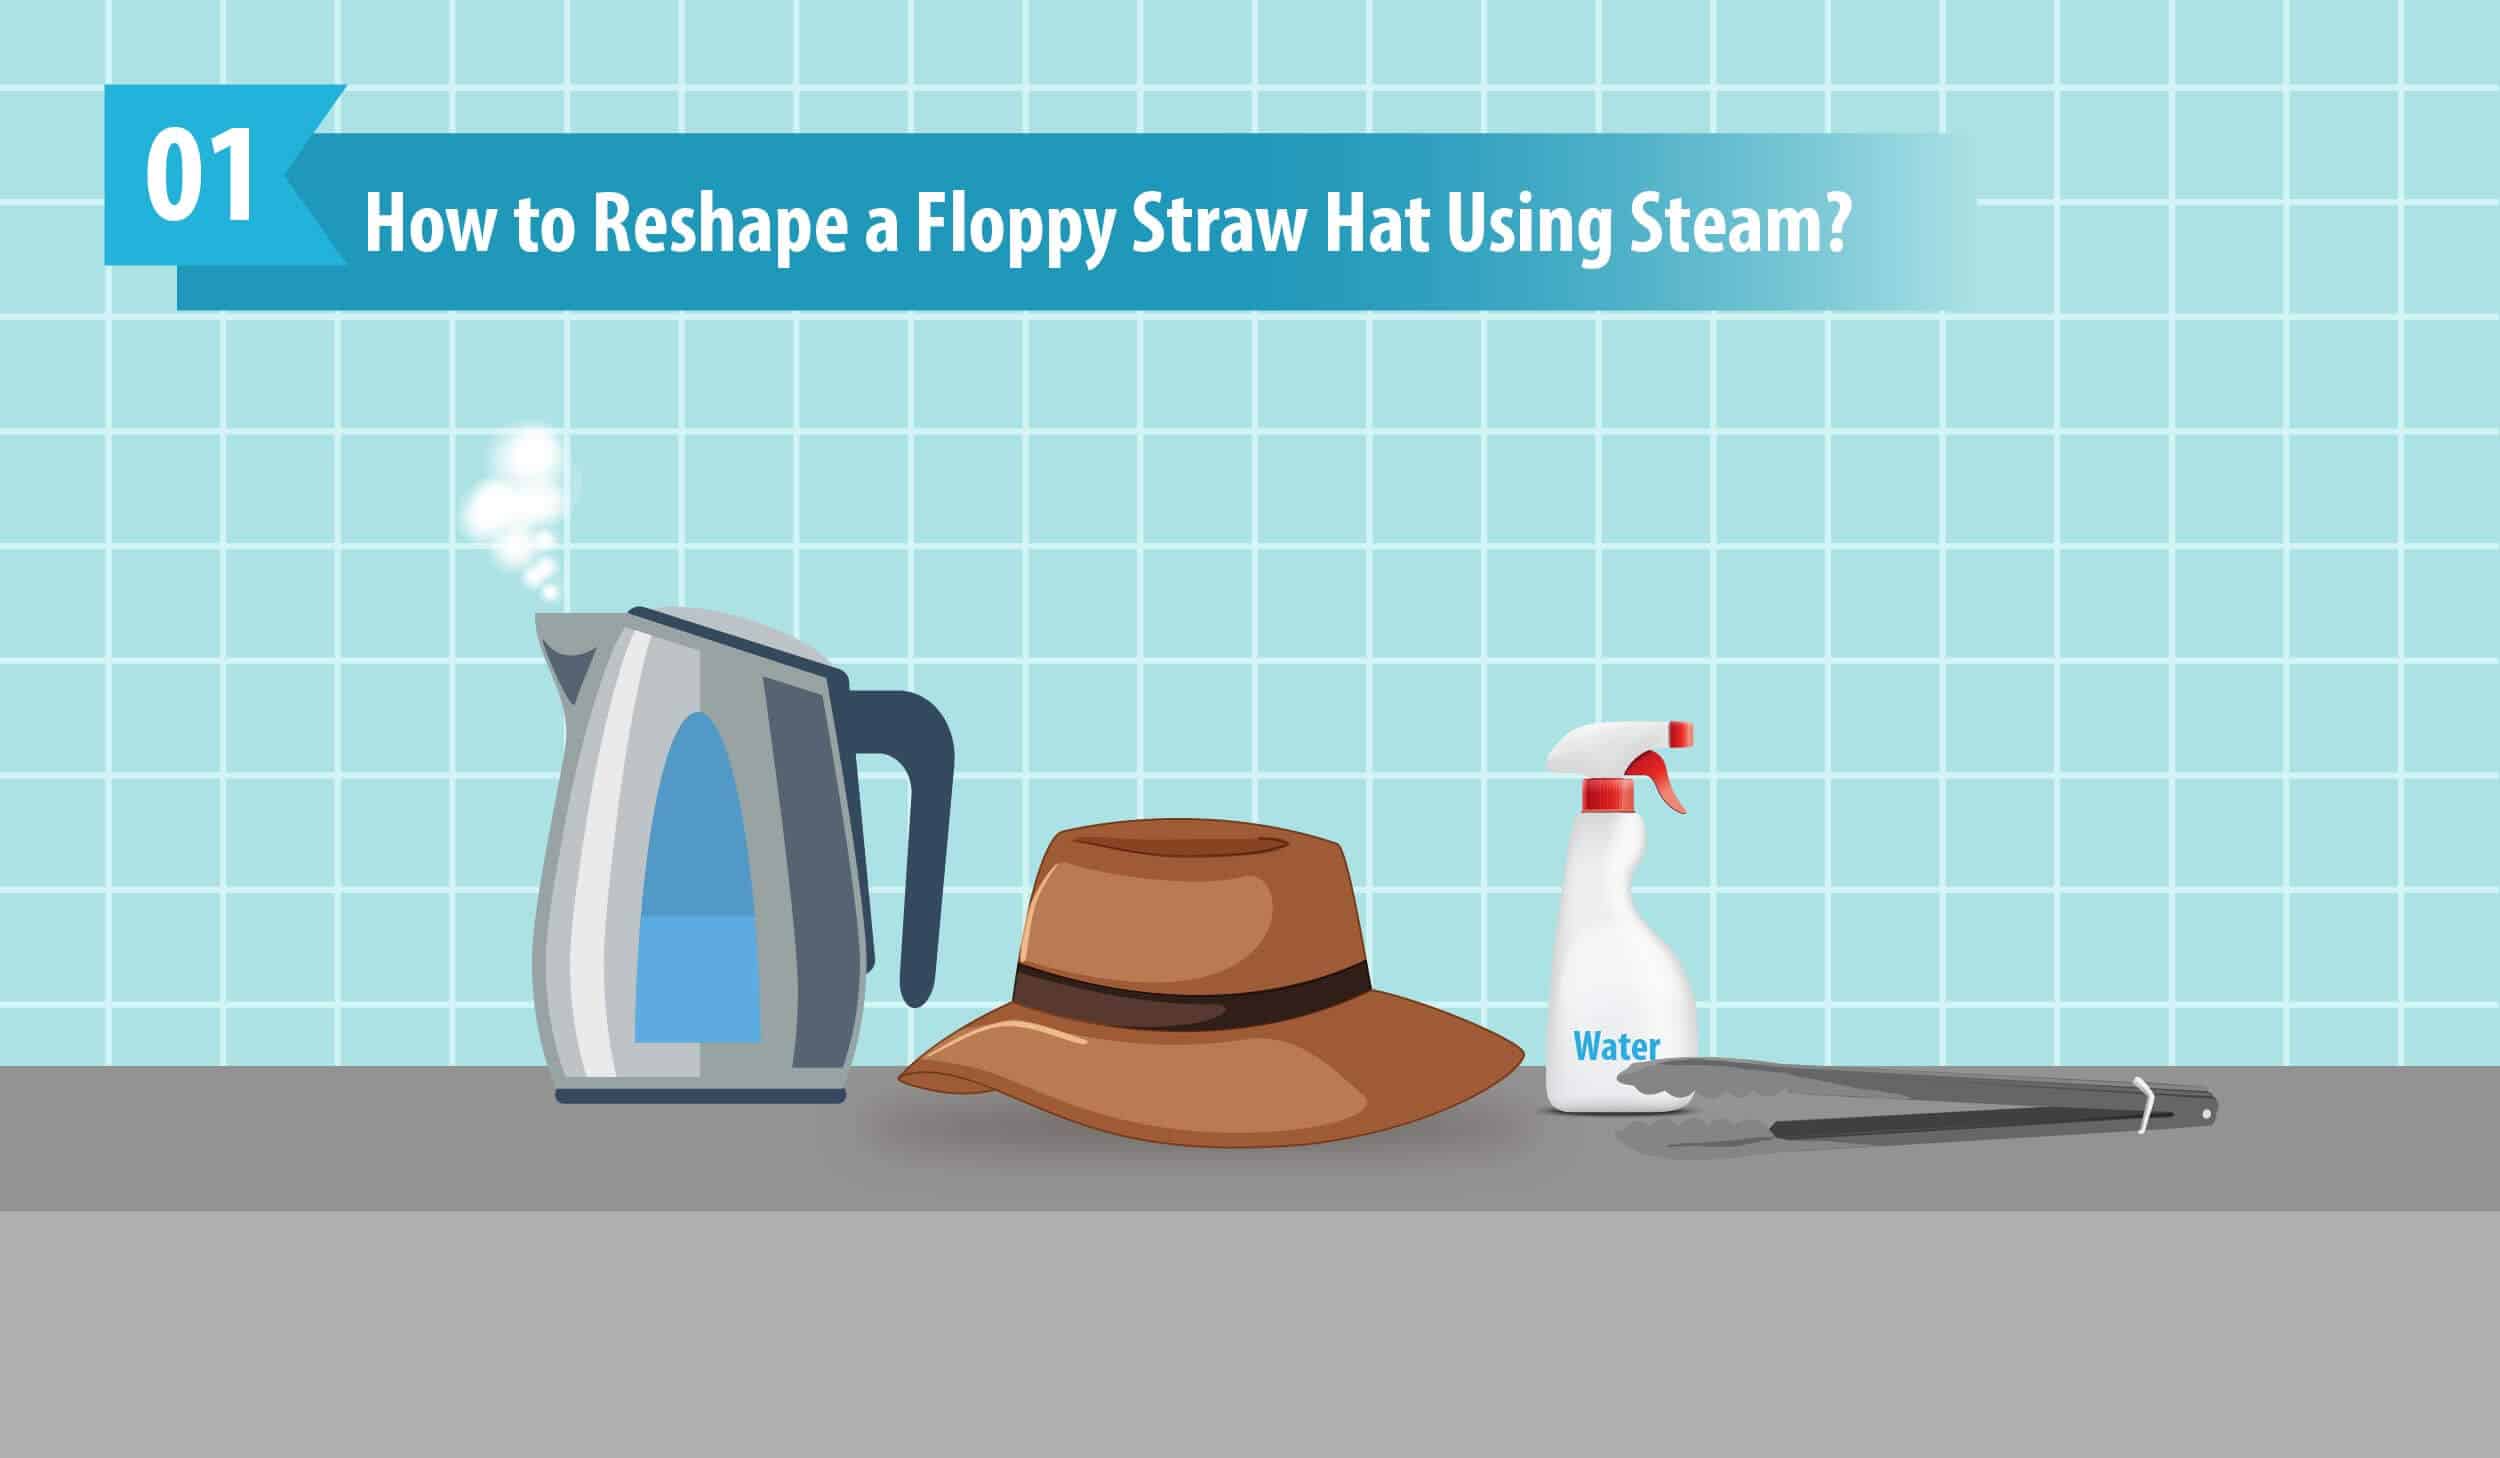
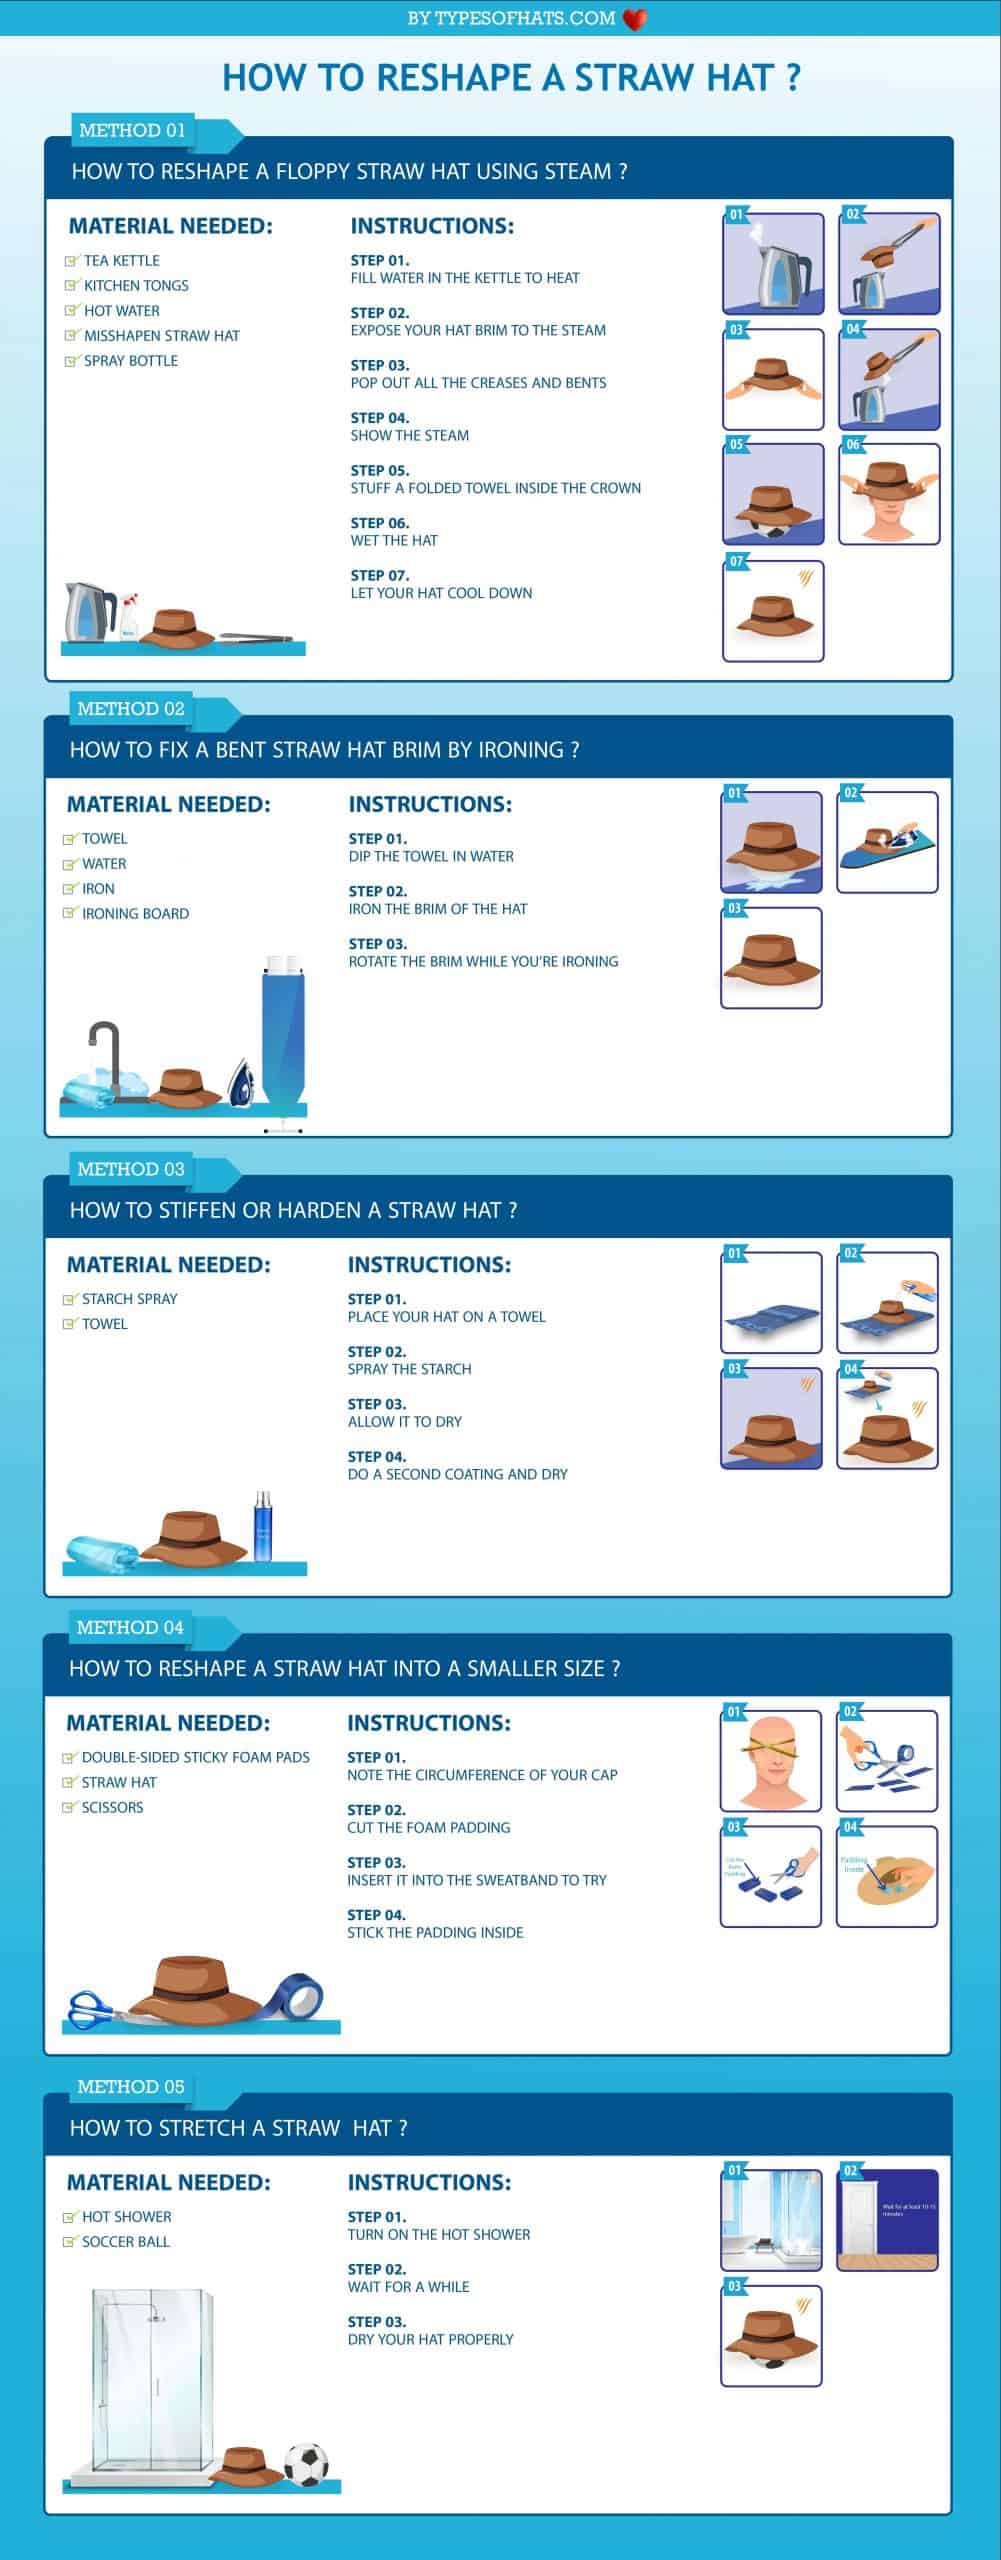
How to Reshape a Floppy Straw Hat Using Steam?
Check out this easiest method on how to soften crushed straw hats and bring them back into shape with only a few materials you can find in your kitchen!
Materials Needed:
- Tea kettle or hat steamer
- Kitchen tongs
- Hot water
- Misshapen straw hat
- Spray bottle
Instructions:
Step 1: Fill Water in the Kettle to Heat
Firstly, fill the water in the tea kettle and let the water boil. If you don’t have a kettle, you can also take your cooking pot and start to boil water in it. Even though you can use a standard steamer, it isn’t that effective to penetrate and soften the straw.
Step 2: Expose Your Hat Brim to The Steam
Secondly, use your kitchen tongs to hold your hat and show the misshapen brim to the steam. By steaming, the straw fibers will get loosened and softened, allowing you to reshape them.
BE VERY CAREFUL to hold the cap firmly and DO NOT expose it for long, and keep the hat 6-8″ away since overheating can melt and damage the fibers if it is made up of synthetic.
Step 3: Pop Out All The Creases and Bents Around the Brim
Steam your cap section by section and use your hands to bring them back to shape. You will feel the cap has become much softer now.
Step 4: Show the Steam to The Crown and Reshape the Hat
Expose the inner crown of the cap to the steam. If a leather sweatband lines it, it’s better to avoid steaming into the inner crown. Pop-out the creases in the crown. You also use a spoon to unfold the creases while it’s steaming.
Step 5: Stuff a Folded Towel Inside the Crown
Since the cap has become softened, it’s good to retain the crown shape using a folded towel or stuff a paper bag full of newspapers or even a ball that fits the inner crown snuggly. Make sure the brim is flat on the surface too.
Step 6: Wet The Hat
If you notice creases, spray water using a spray bottle all over your cap evenly. Use your fingers to mold the hat. Do not be harsh with the process.
Step 7: Let Your Hat Cool Down
Let your hat dry in a safe place without sunlight. By now, your straw hat must be much better. If you come across wrinkles again, repeat the same process.
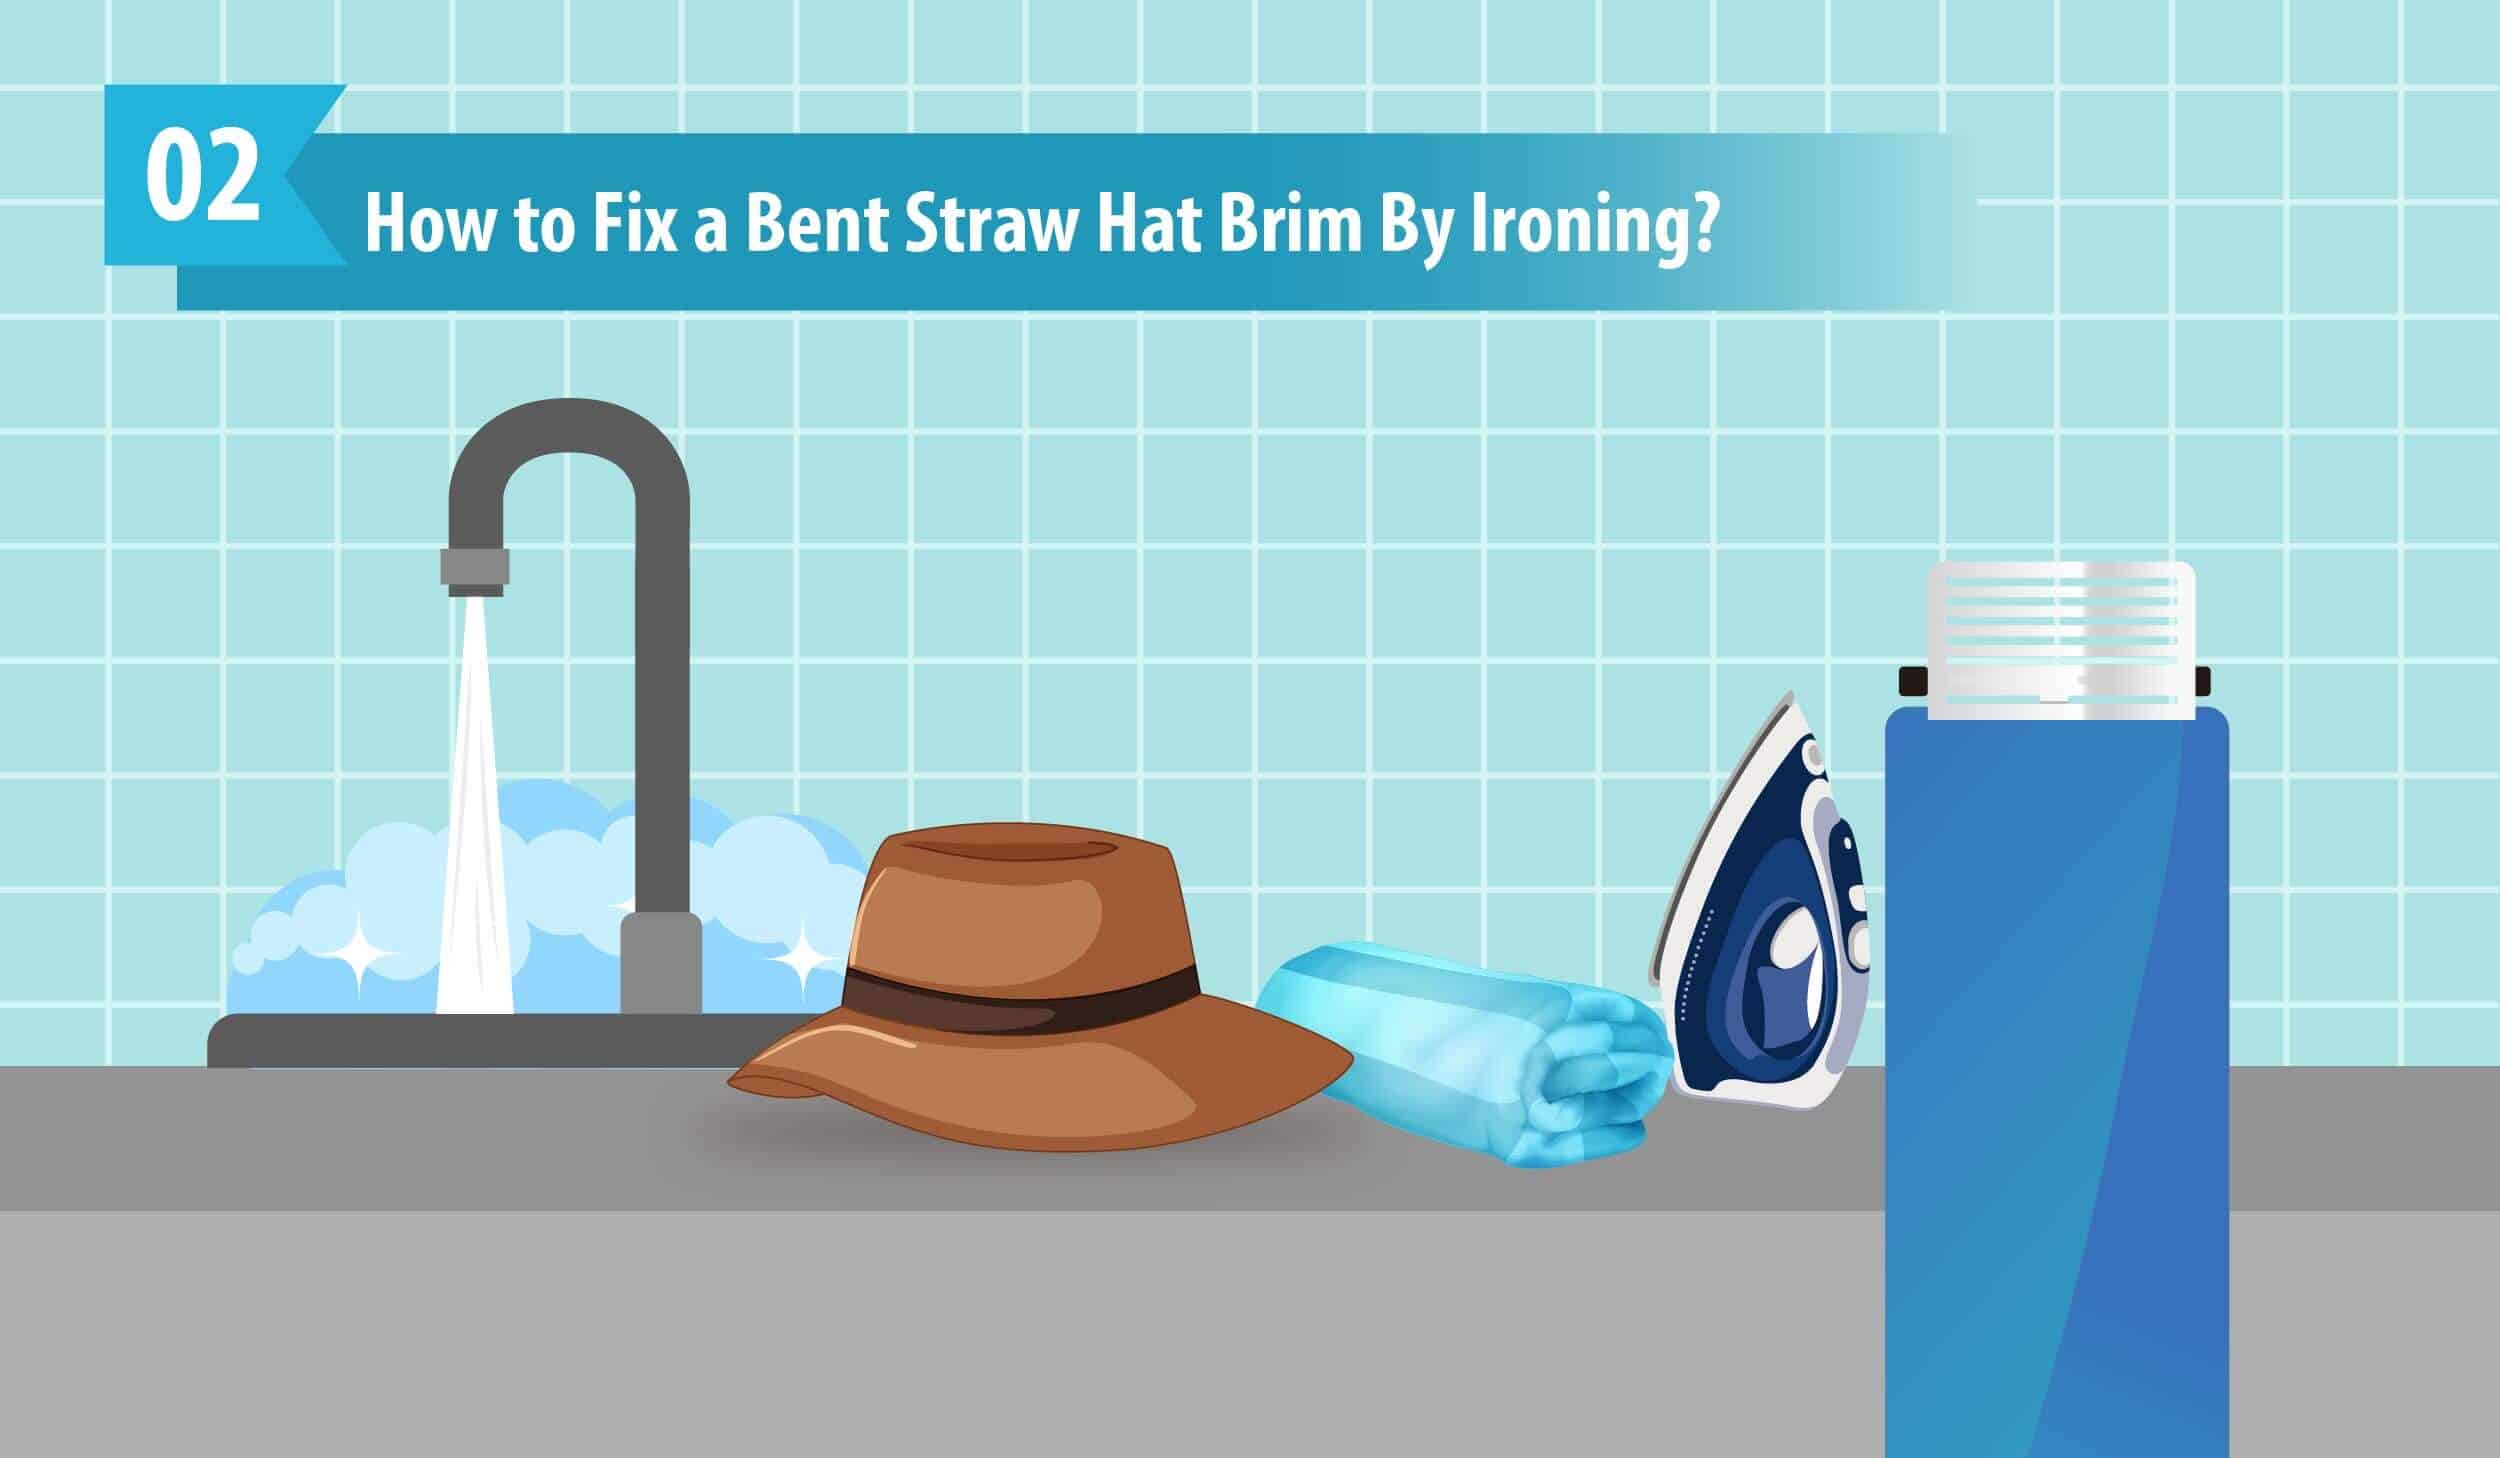
How to Fix a Bent Straw Hat Brim By Ironing?
Ironing? That sounds a little scary, right? PLEASE TAKE NOTE that this ironing process is only recommended for 100% genuine straw hats, which are made up of natural fibers. If it’s not, don’t forget to spread a damp towel while ironing it.
Materials Needed:
- Towel
- Water
- Iron
- Ironing board
Instructions:
Step 1: Dip the Towel in Water and Put it On the Crown
If you feel steaming and wetting is such a hard process, dip the towel in water and wring it. This is to provide enough moisture to your straw hat and help it more relax. Turn your cap upside down and stuff the towel inside.
Wait for a while. Push out the creases in the crown of your straw hat after it is softened enough.
Step 2: Iron the Brim Of the Hat
Place the hat’s brim on the ironing board and set the cloth on the deformed part of the brim. MAKE SURE you have set the temperature NOT TOO HIGH. Press the area very gently but quickly, and do not let the area rest in the same place.
Step 3: Rotate The Brim While You’re Ironing
Ensure you DON’T REMOVE the damp cloth while ironing since using a hat straight to the iron has increased chances to cause discoloration or burn. Protect your cap by keeping it in a hat form to retain its shape.
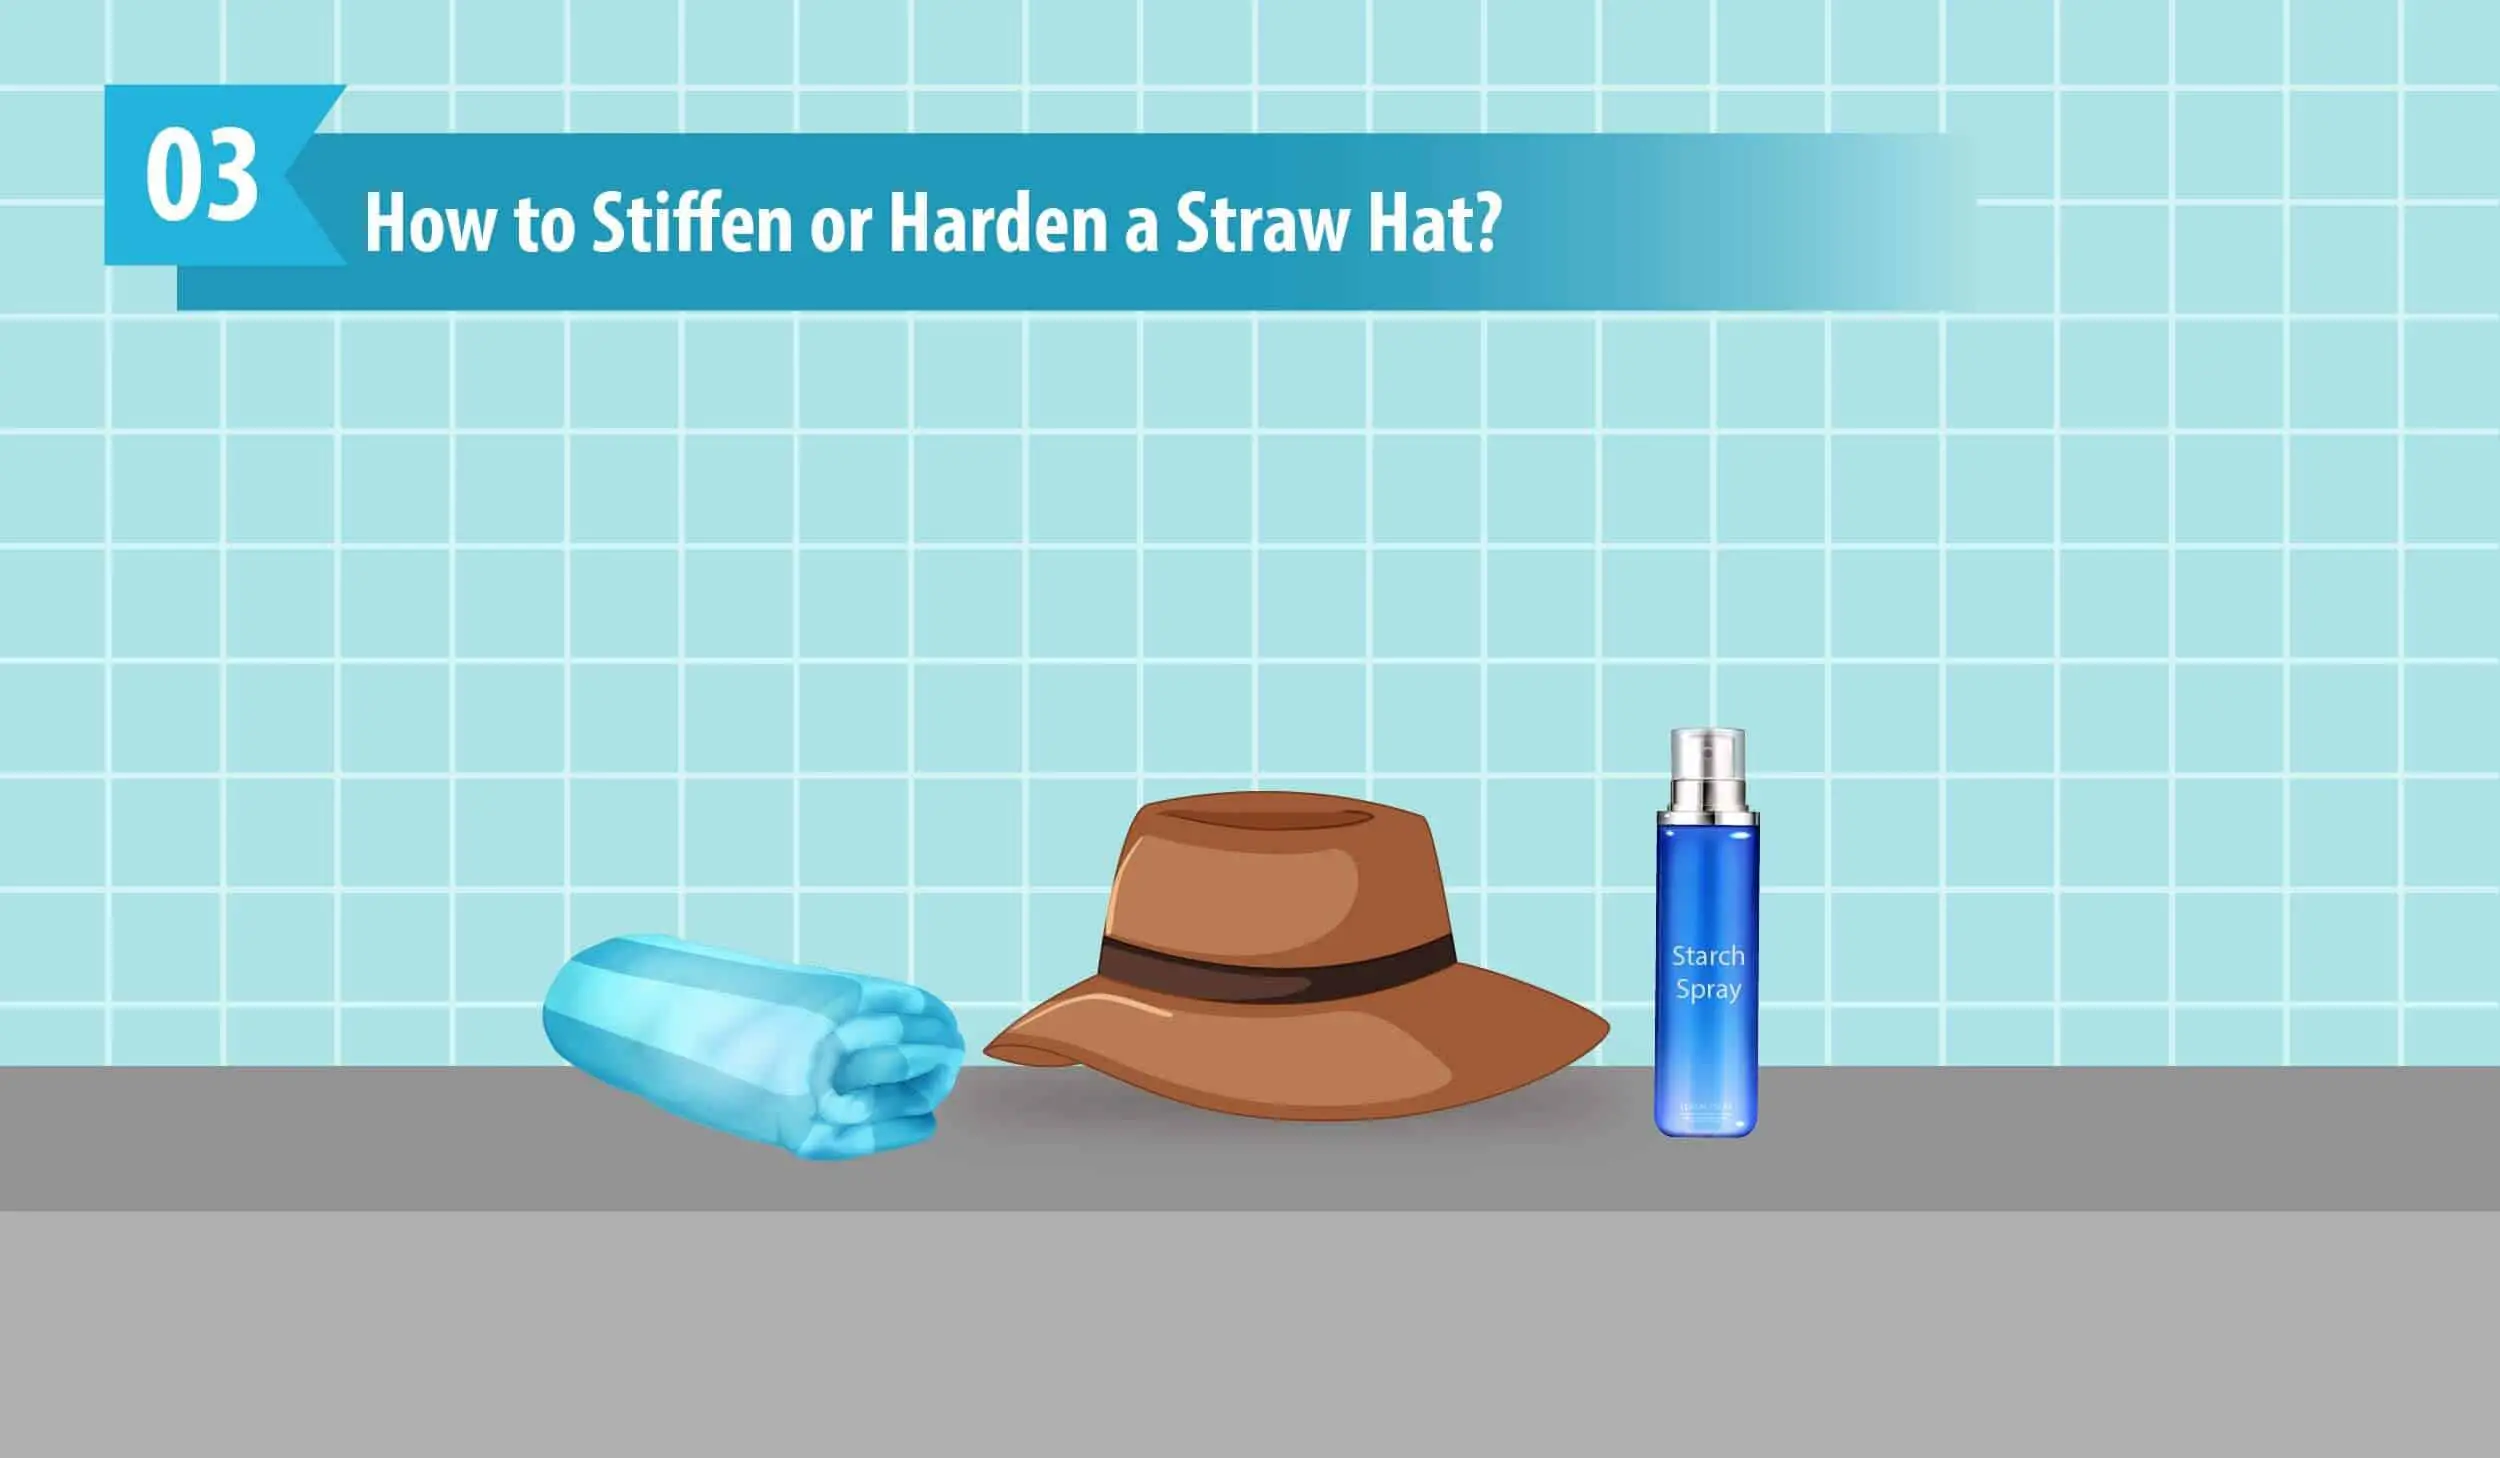
How to Stiffen or Harden a Straw Hat?
Is your floppy hat looking so floppy that it almost surrounds your face? Check out this method which can take only minutes.
Materials Needed:
- Starch Spray
- Towel
Instructions:
Step 1: Place Your Hat On a Towel
Firstly, spread your towel on a flat surface and lay your floppy hat flat without any unfolding at the brims.
Step 2: Spray the starch
Secondly, pick the heavy starch spray on the hand and spray section by section evenly on the cap. Pay attention to the sides more.
Step 3: Let it Dry for a While
Let it dry for a while. Starch is effective on floppy hats to stiffen their fibers and bring them back to shape and allowing you to mold the brim according to your favorite style.
Step 4: Do A Second Coating and Dry
After your hat becomes dry, spray the hat again with a second coat of starch. Let it dry on a flat surface in a safe place before you wear it.
How to Reshape a Straw Hat Into a Smaller Size?
Aren’t you keen to know how to make your straw hat smaller to fit your head WITHOUT SHRINKING IT? Yes, you heard that right!
Materials Needed:
Instructions:
Step 1: Note the Circumference of Your Cap
Firstly, measure the head circumference of your cap and see how it fits for you. Either you may feel loose on all sides or loose only in the front and back of the hat.
Step 2: Cut The Foam Padding
Cut the foam padding for the length you need. It can be a long rectangular strip to encircle your whole hat or two rectangular pieces to keep on the sides.
Step 3: Insert It Into The Sweatband to Try
It’s better if you cut the foam padding, which can be slimmer than the sweatband on your hat. Flip open the sweatband and insert the padding. Try it on your head WITHOUT PEELING.
Step 4: Stick The Padding Inside the Sweatband
If you feel comfortable, peel off the foam padding cover gently and stick it into your sweatband. Press them all the way around, and now, you can try your fitting straw hat.
How to Stretch A Straw Hat?
Do you have a crunchy hat that feels tighter when you wear it? Here’s an easy and effective method to stretch it while you’re bathing.
Materials Needed:
- Hot Shower
- Soccer ball
Instructions:
Step 1: Turn On the Hot Shower and Hook the Cap
Turn on the shower to the hottest temperature setting and place the cap on a hook near the steam. MAKE SURE your hat isn’t exposed to the hot water.
Step 2: Wait for a while
Save water; you can also take a quick bath in the meantime. Wait for at least 10-15 minutes so that the steam will penetrate the straw fibers and loosen them.
Step 3: Dry Your Hat Properly
Make sure you dry it properly, since the moisture in the hat can lead to mold. Place the hat in a warm environment without exposure to direct sunlight. Try on the hat, and by now, it must have been stretched. You can also keep a soccer ball or a hat stand to hold the shape.
Final Thoughts
The summer season is never completed without wearing a straw hat and going to the beach to feel the warm breeze! However, you don’t need to buy one every time since your old hat is squashed, bent, shrunk, or stretched. By now, you might have a clear solution on how to reshape your straw hat and transform it to look brand new. We repeat, DO NOT bend the brims without softening since it can lead to excessive damage! So, are you ready to take the next step?
You may also like

This Post Has 0 Comments